Groups
Groups are collections of members used in Bookings and Chat Routing Systems. These groups are typically assigned to individual customers through these systems, enabling all agents to interact with the customer simultaneously. We recommend reviewing the Member List documentation first for a general overview of Members.
Group Creation
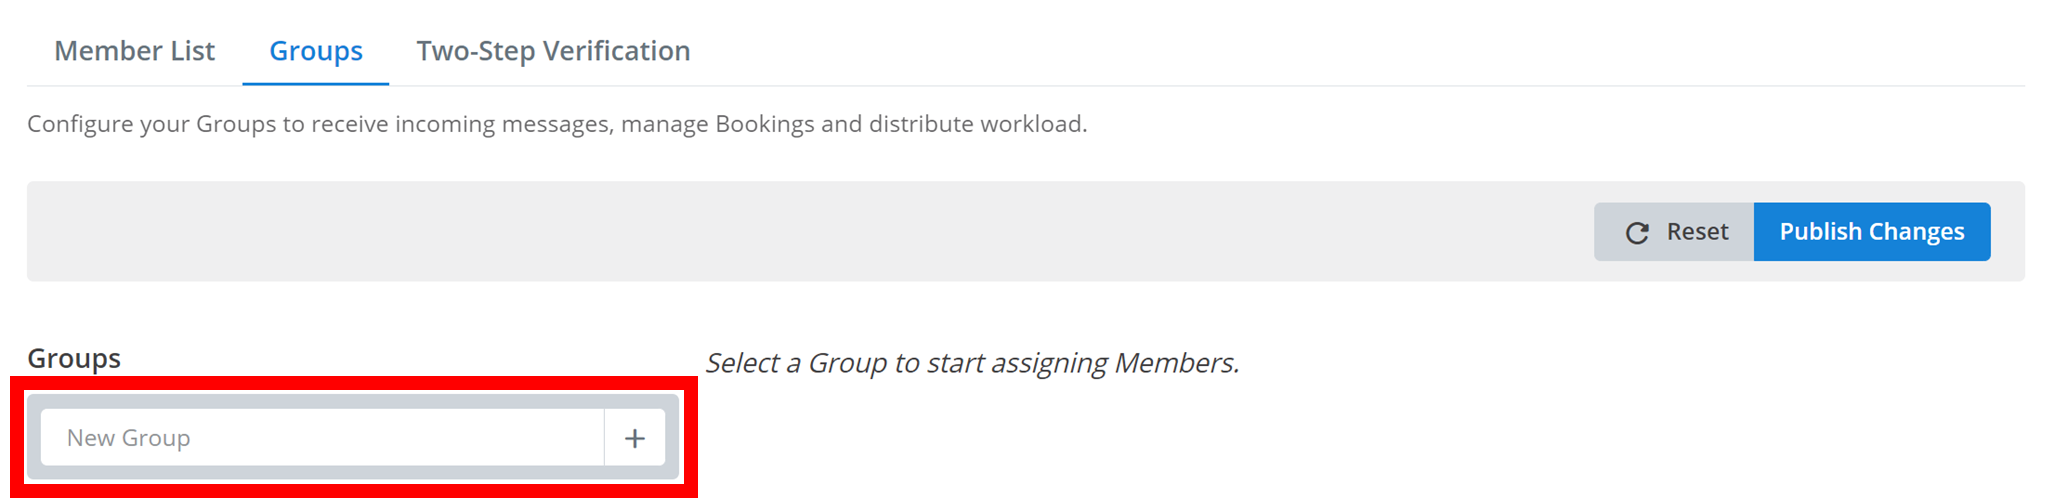
To create a group, assign it a name that will serve as the display name for identification within the workspace.
Enter Group Name
Enter the name in the text box below.
Add Group
Click the + button to add the group to the workspace.
The group starts as an empty shell. You then need to add members to it.
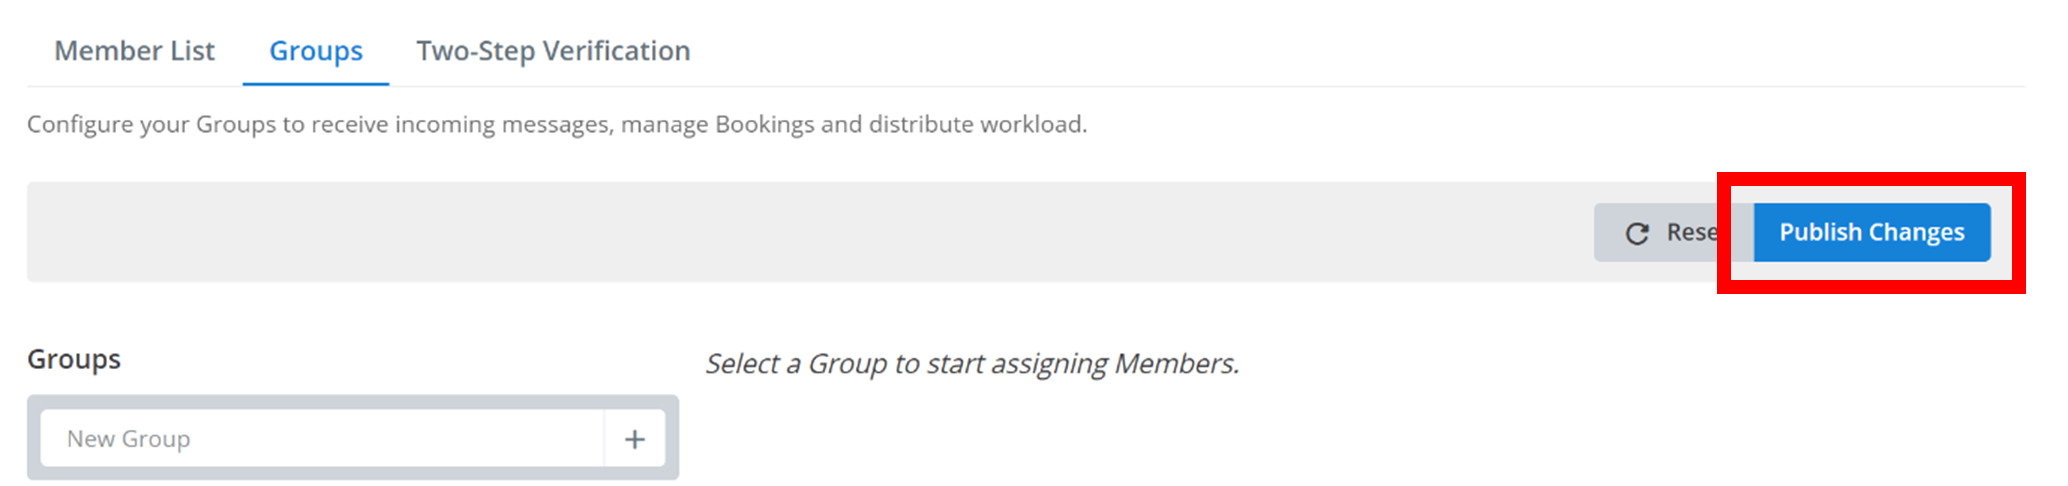
Remember
Any changes made here in the Groups section must be saved by clicking Publish Changes.
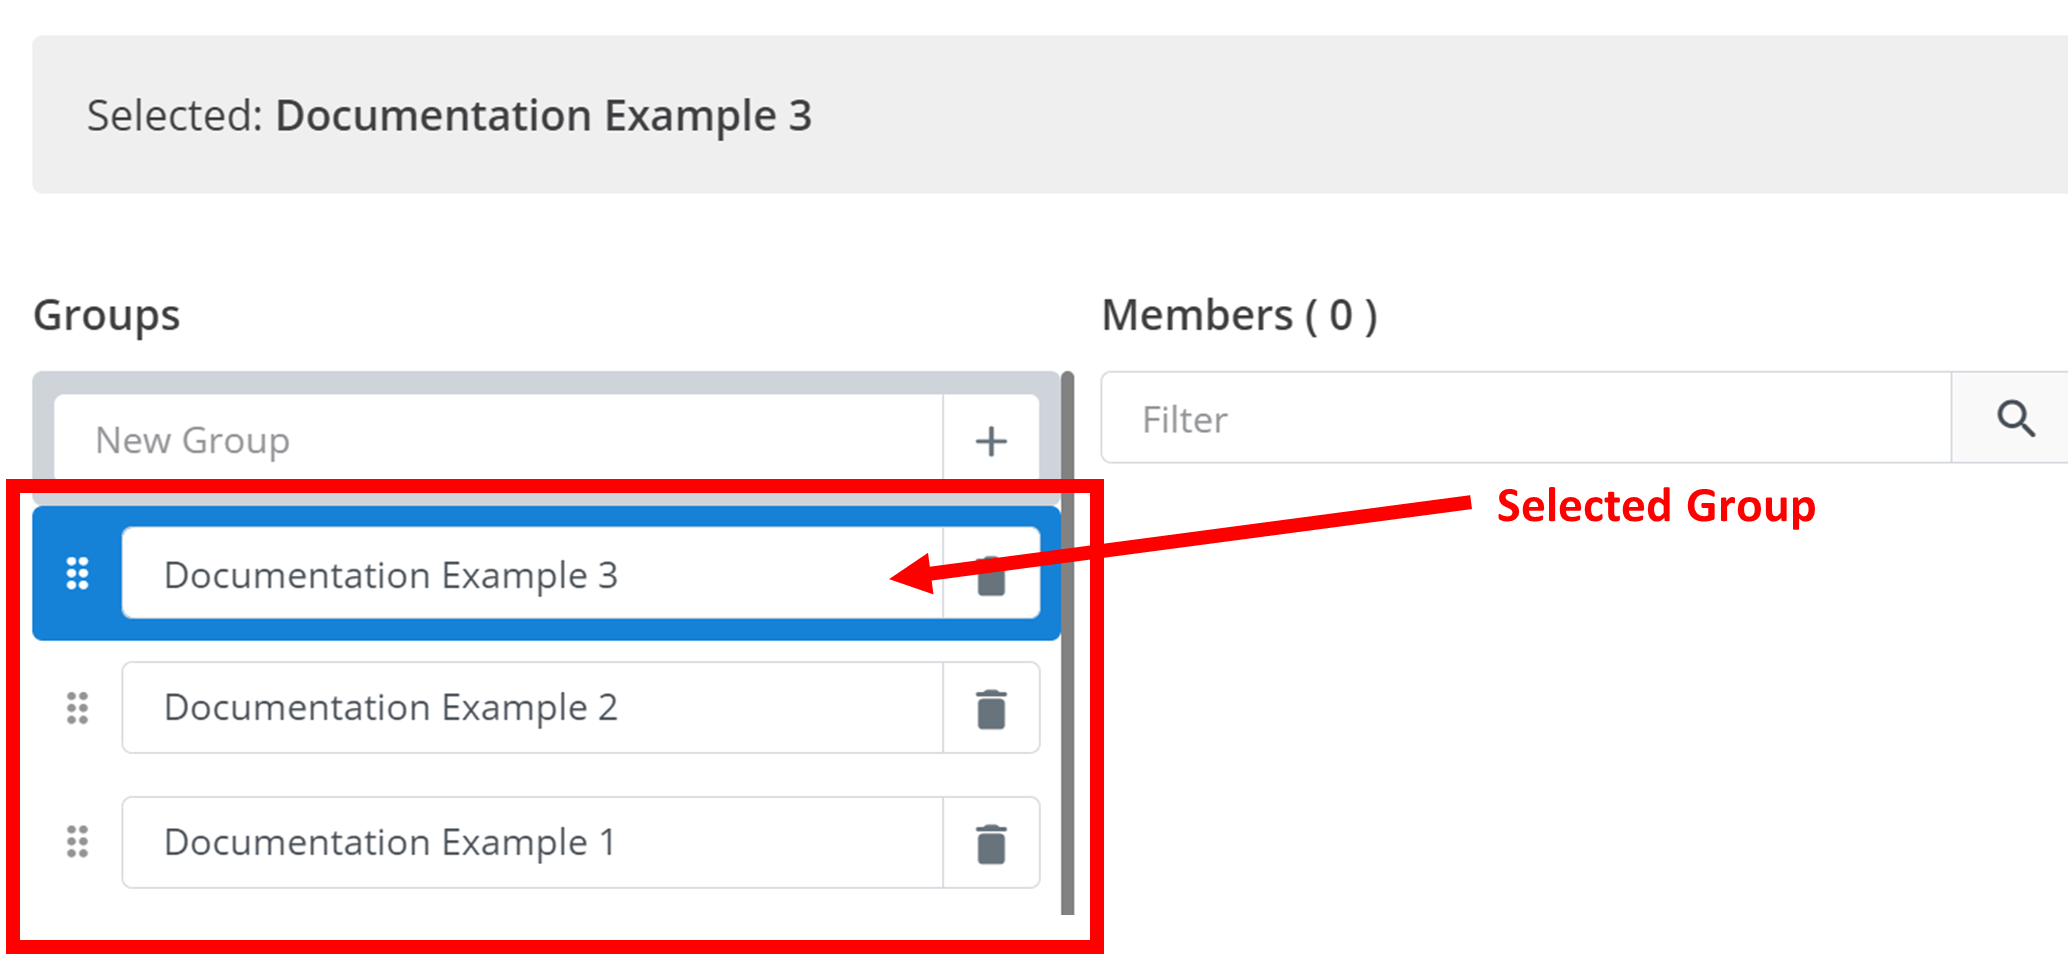
Modifying Groups
To select a group for modification, click on it in the Groups section. A selected group will be highlighted in blue.
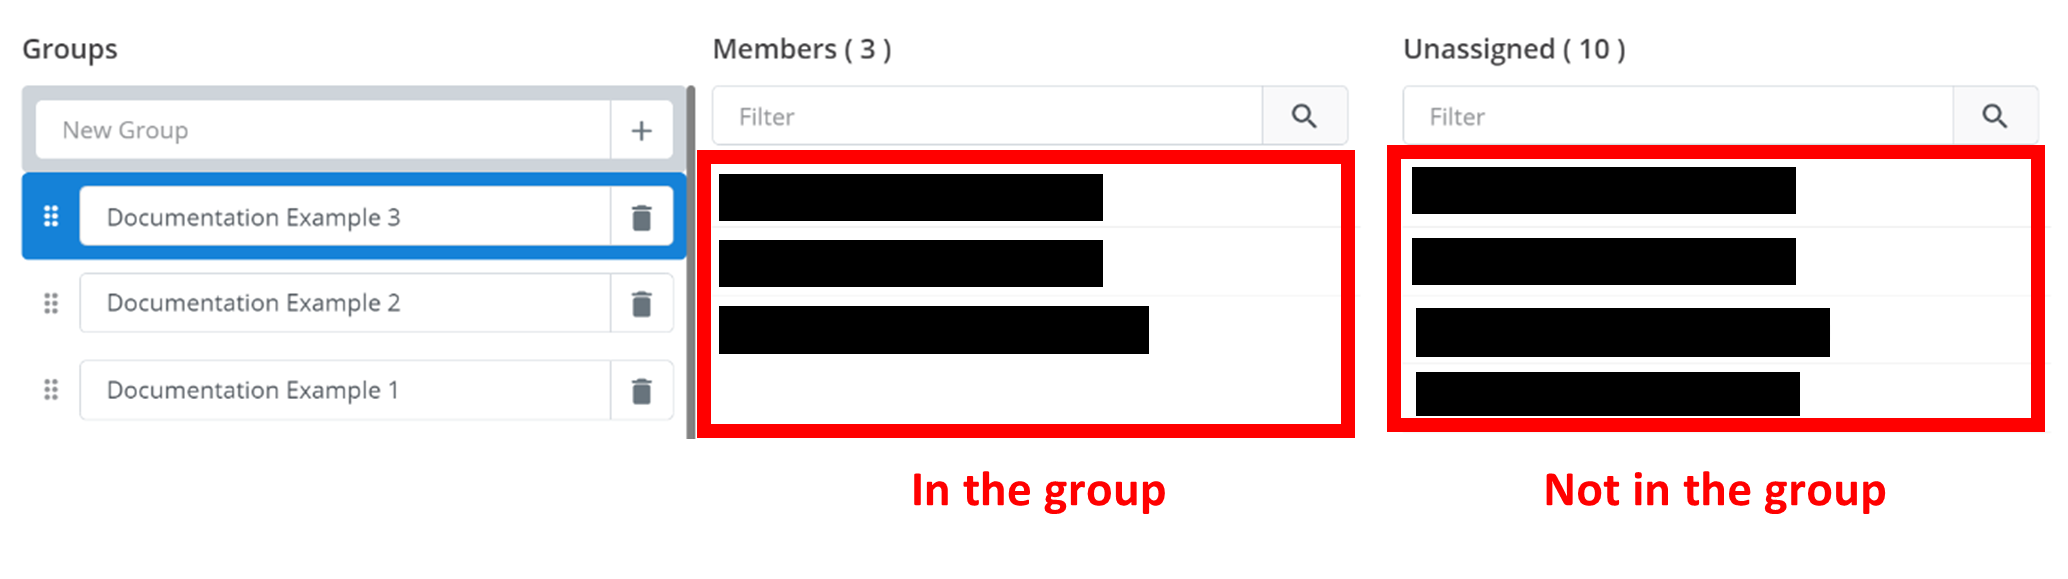
Group members appear under Members. Non-group members appear under Unassigned. To add a member to the group, click on the member in Unassigned. To remove a member from the group, click on the member in Members. If there are many members, you can search by name using the Filter text box above each section:
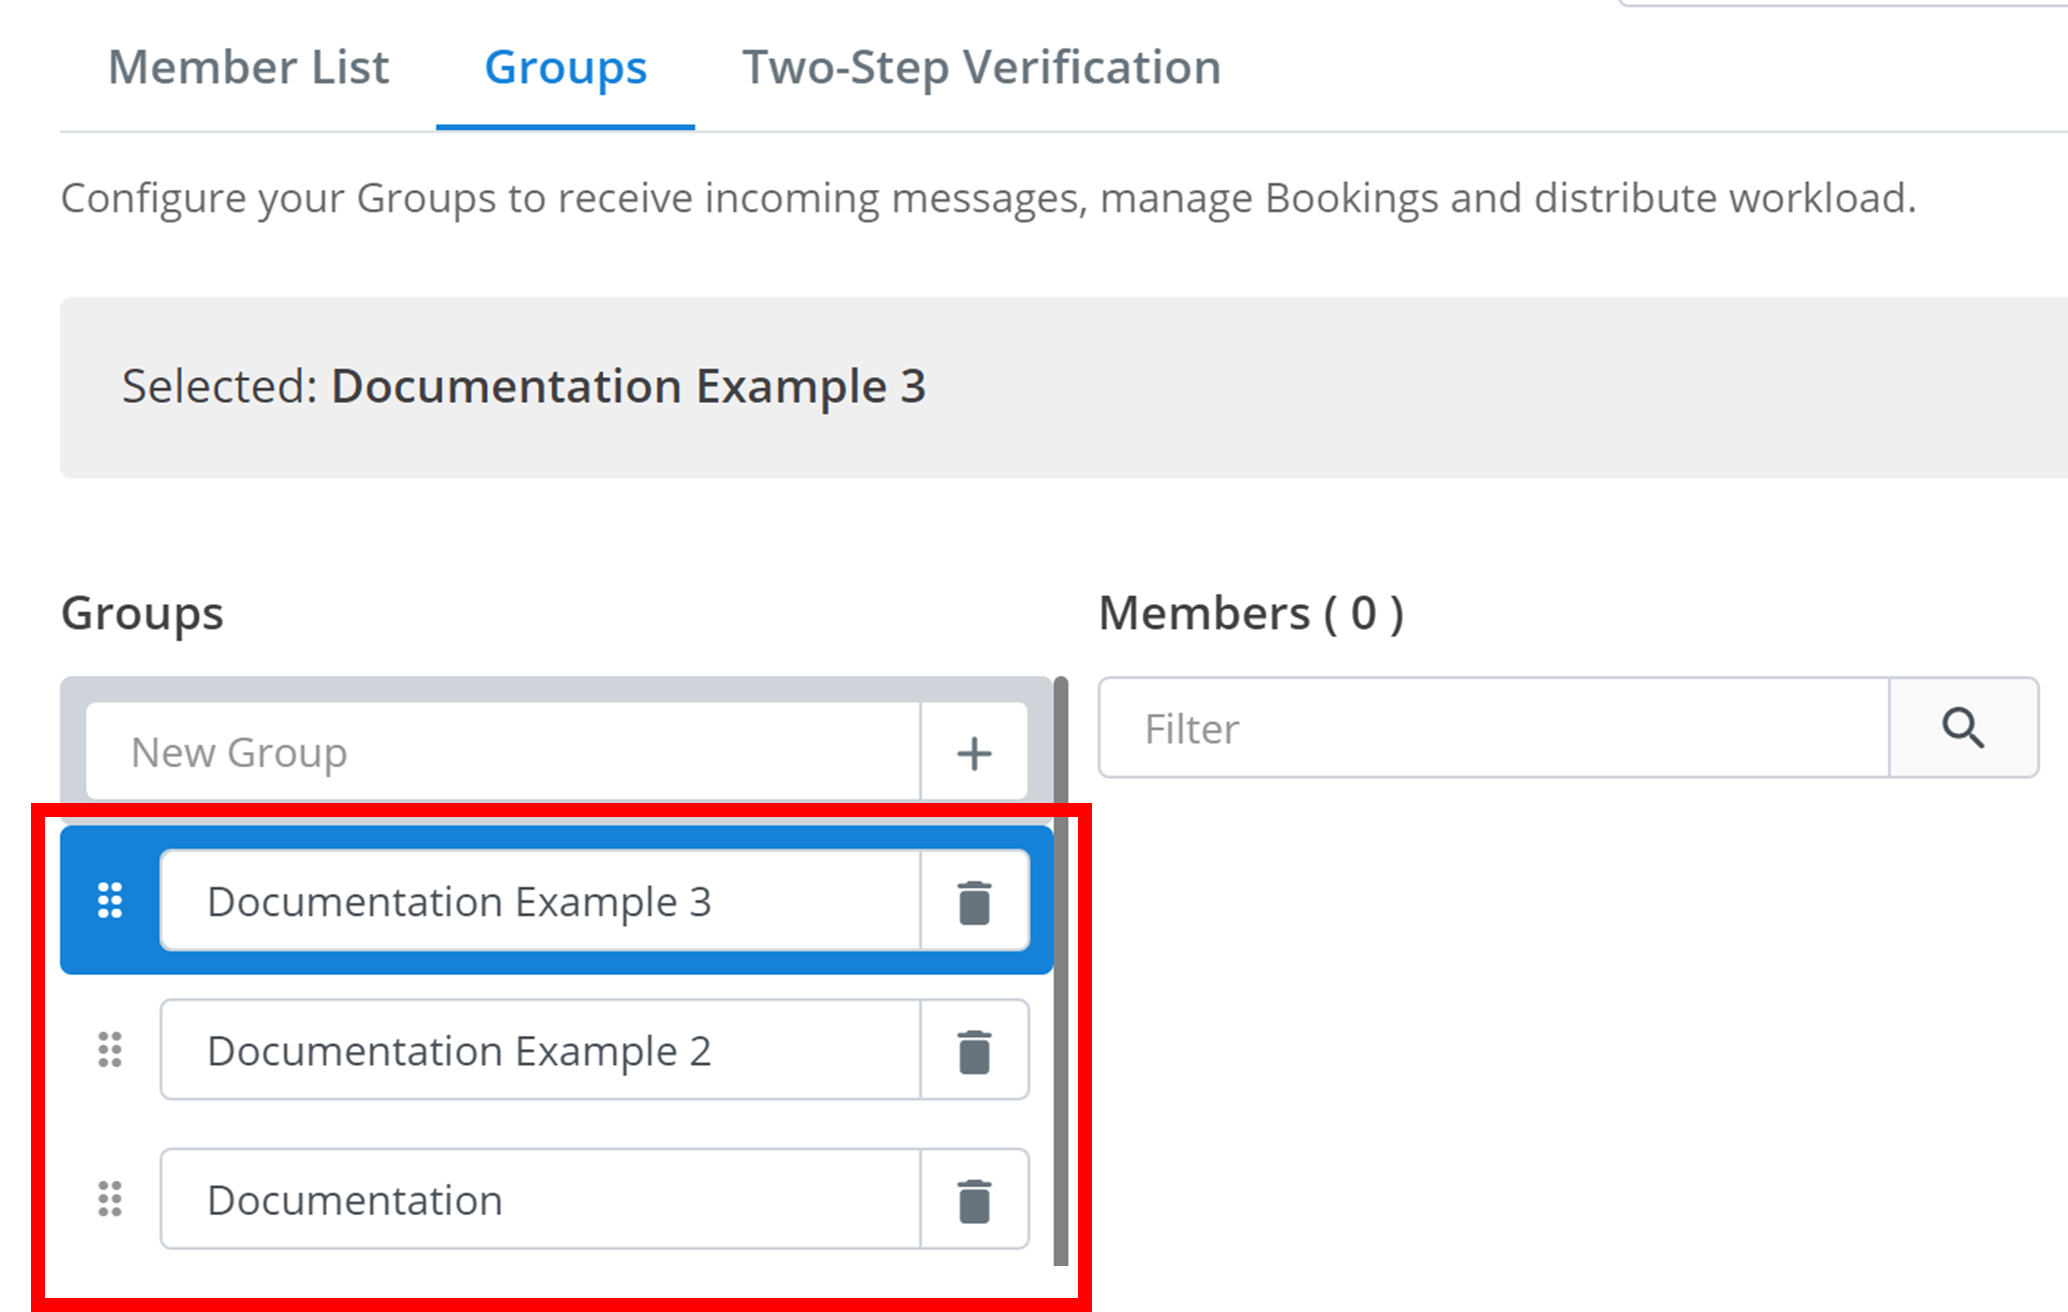
Deleting Groups
To delete a group from the workspace, click the trash icon next to its name as outlined below.

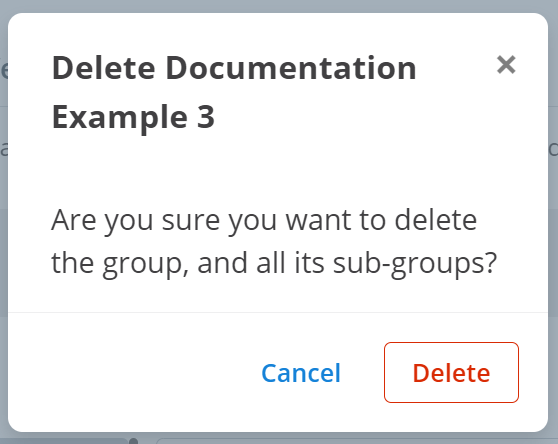
Click the Delete button in the confirmation menu:
Group Priority
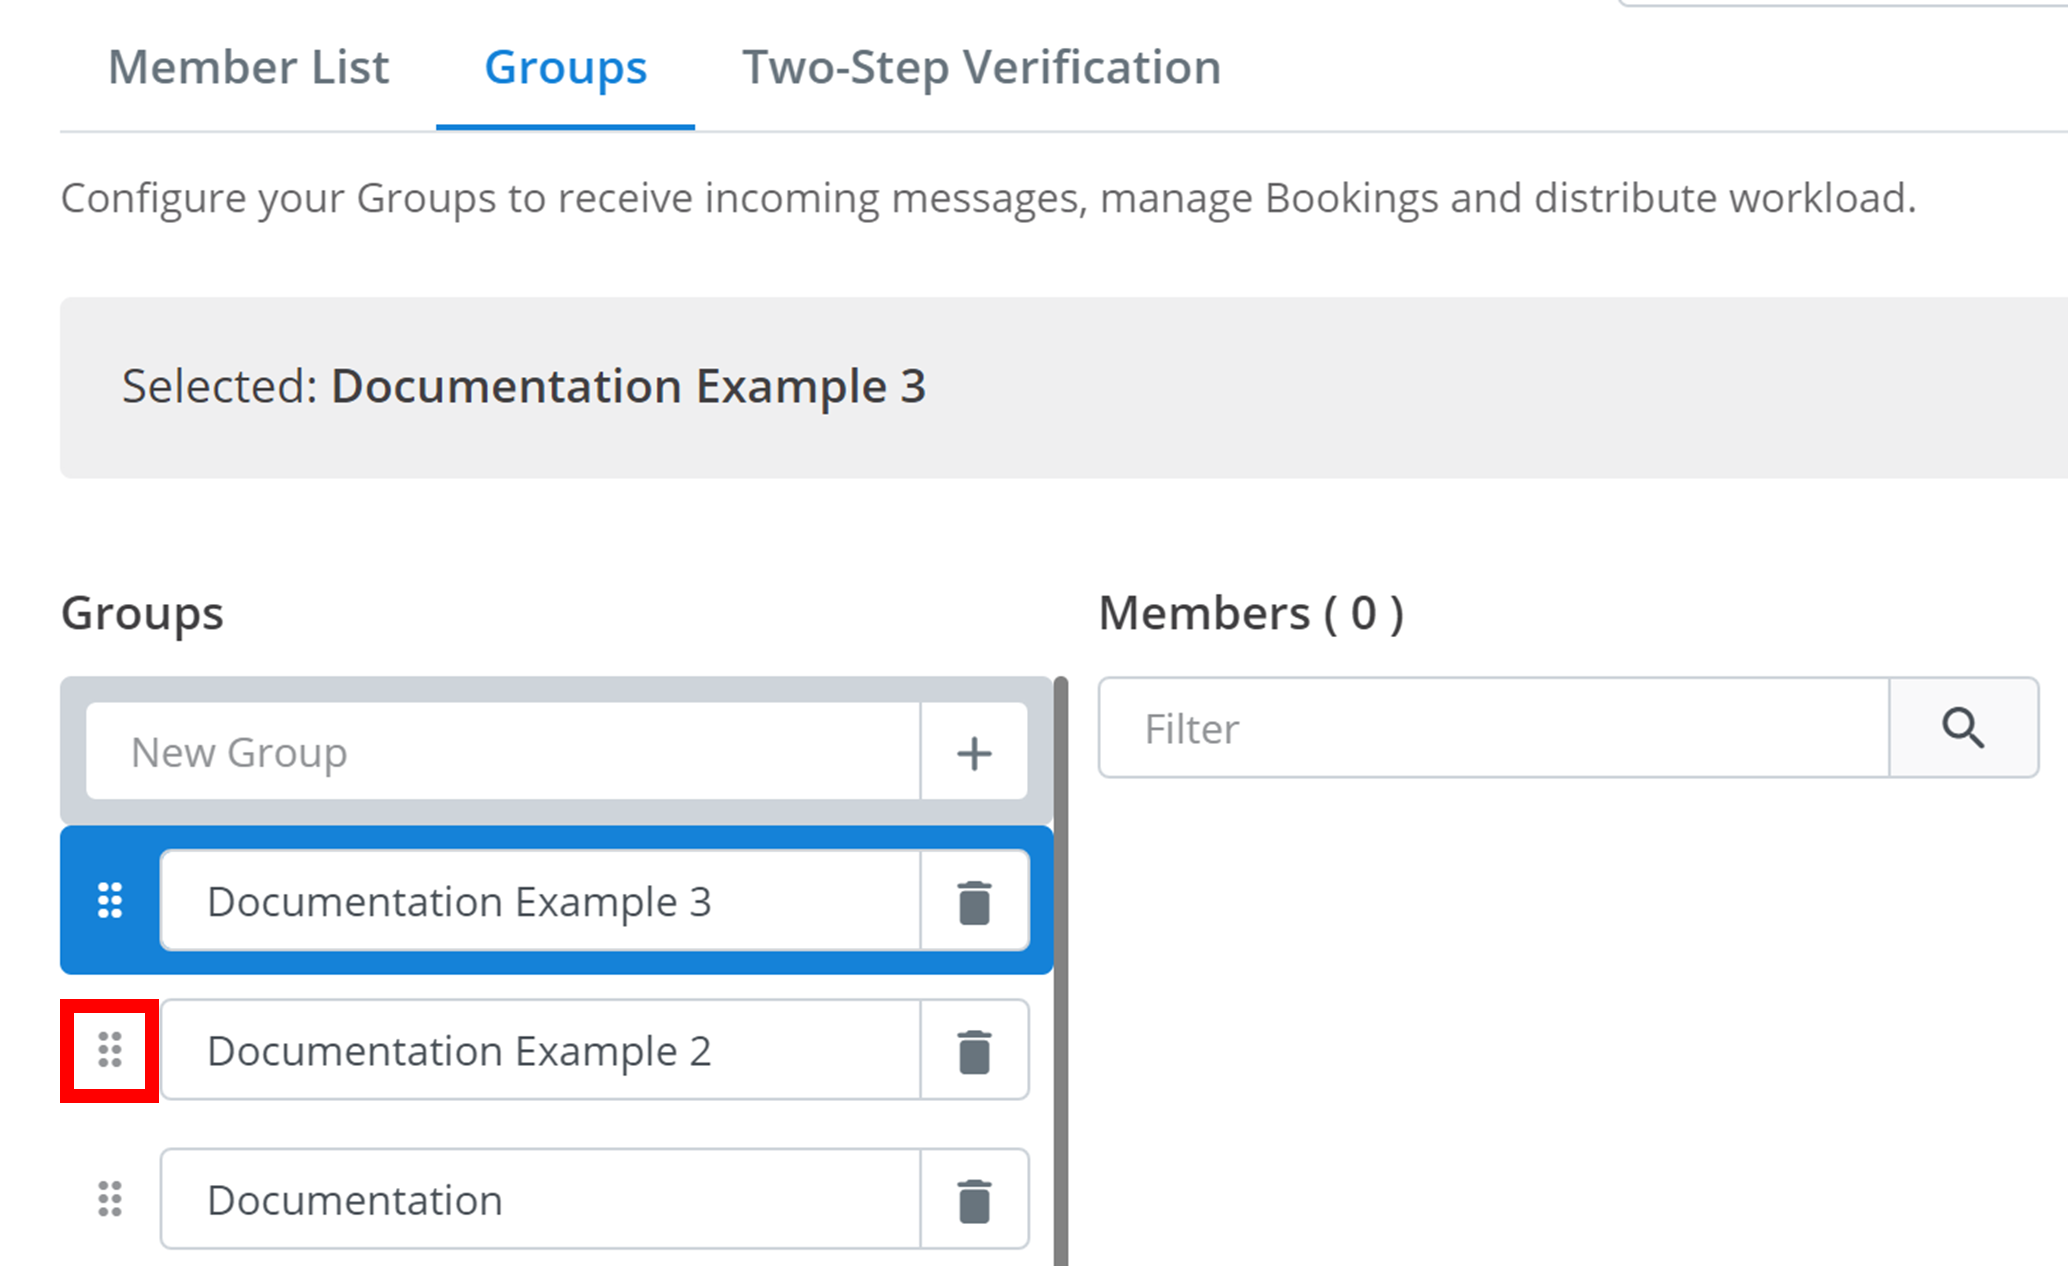
All groups are displayed in the section outlined below.
Groups have a specific priority order. Groups at the top have higher priority than those at the bottom. If there are group assignment conflicts in Chat Routing, the group with higher priority will be selected for routing. To change this order, hover over the six dots ⠿ (outlined below) and drag the group to the desired position.
How is this guide?