General
Create dynamic, interactive surveys that adapt to your customers' responses in real-time. Design custom question flows that branch based on answers, collect valuable feedback, and gather insights through SMS and voice channels. Surveys help you understand your audience better while providing a seamless, personalized experience for respondents.
Setup
Setting up a survey is the first step to gathering valuable insights. This section covers the essential configuration required to prepare your survey for respondents.
Create
Select Survey Type
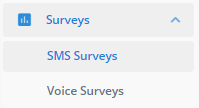
To create a new survey, navigate to your desired survey type using the sidebar.
Start New Survey
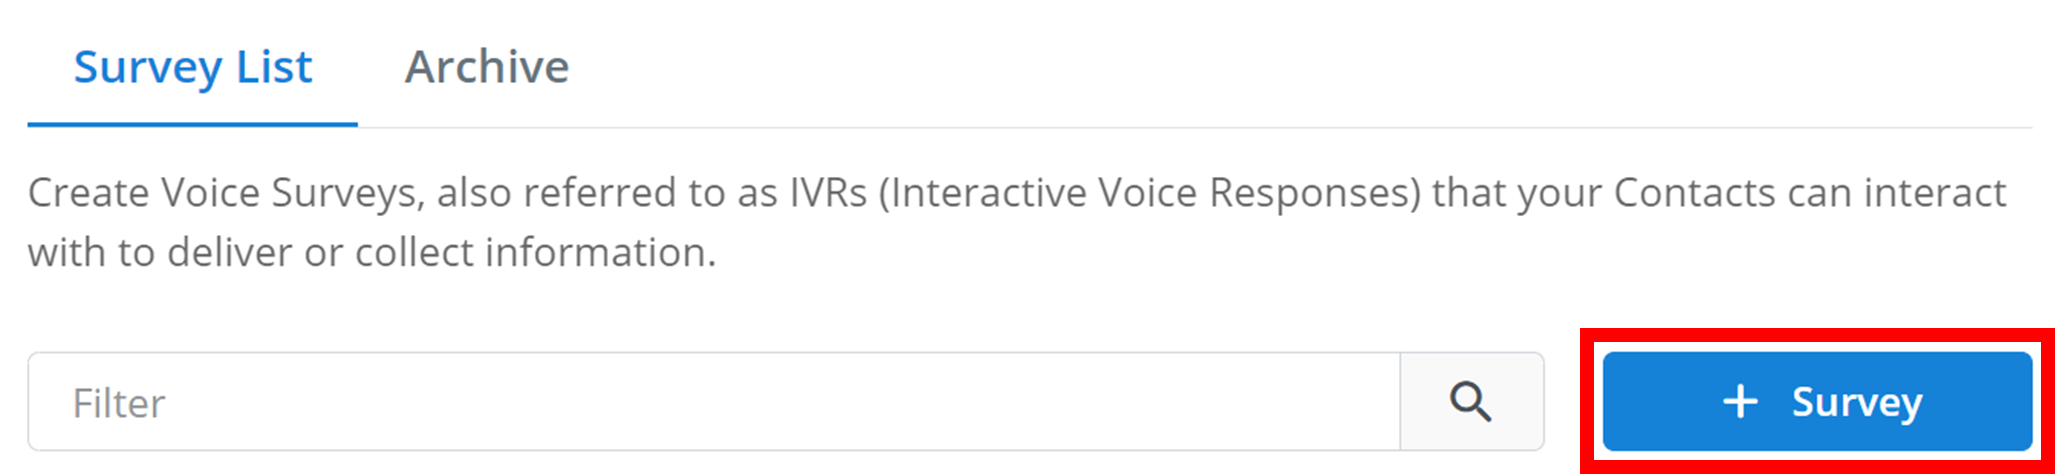
Click the blue + Survey button to create a new survey.
Review Settings Menu
A menu will appear where you can configure the initial survey settings. Depending on the survey type, this menu will look slightly different.
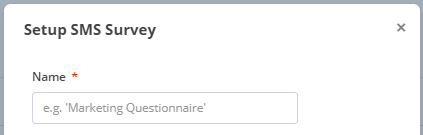
Name the Survey
Give your survey a name to identify it within your workspace. Enter this name in the text box underneath Name.
Set Fallback Message
Configure the Unrecognised Response Fallback Message. This is the message that respondents will receive if their answer is not recognised as a valid option.
Questions
Once you have successfully created your survey, you will have been navigated to a new menu like the one below, and here is where you create your questions. To create a new question, click the blue + New Question button outlined below.

Question Content
Then a new menu will appear, once again looking slightly differently based on survey type. The first option in this menu is the actual content of the message that respondents respond to. The message is usually composed of two parts: the question and the answers. Ask the question you would like respondents to respond to, and then list all the valid recognised answers to the question (these recognised answers are configured below in Response Handlers).
An example question content for a Voice Survey may be: "What is your favourite ice-cream flavour? Press 1 for Chocolate, 2 for Vanilla, and 3 for None of the Above"
Response Handlers
Next, you must create and manage the answers to this question. The management tools for these answers are called 'Response Handlers'. Each response handler has three options:
- Label: the display name of the answer.
- Matching-on: this is a list of your recognised answers. If a respondent responds with any of these words to this question, it will trigger this response handler. To create the list, just separate each recognised answer you want to use with a comma. E.g. For the label 'Yes', you might use: yes, ys, yeah, yup. If the respondent does not respond with any of the recognised answers to the question, a response handler with a recognised answer as an asterisk (*), will be activated. If there is no response handler that recognises an asterisk (*), then the Unrecognised Response Fallback Message will be triggered.
- Follow-up Question: this is the event that will occur after the response-handler is activated. You select your desired event in the drop-down menu. You can either stop the survey with
-- Stop here --, move the respondent interaction over to the Message2Give Chat Console with-- Transfer to Chat Console --, continue to the next sequential question in the decision tree (e.g. Q1 -> Q2, Q4 -> Q5) with-- Next Question --, or you can direct the respondent to a specific question anywhere in the decision tree.
Tip
To remove a question from the decision tree, click the Remove button in the bottom left of the menu that appears when you edit the question.
Decision Tree
After creating a question or two, you will notice them start to appear in an overview like the one below. This overview is your decision tree.
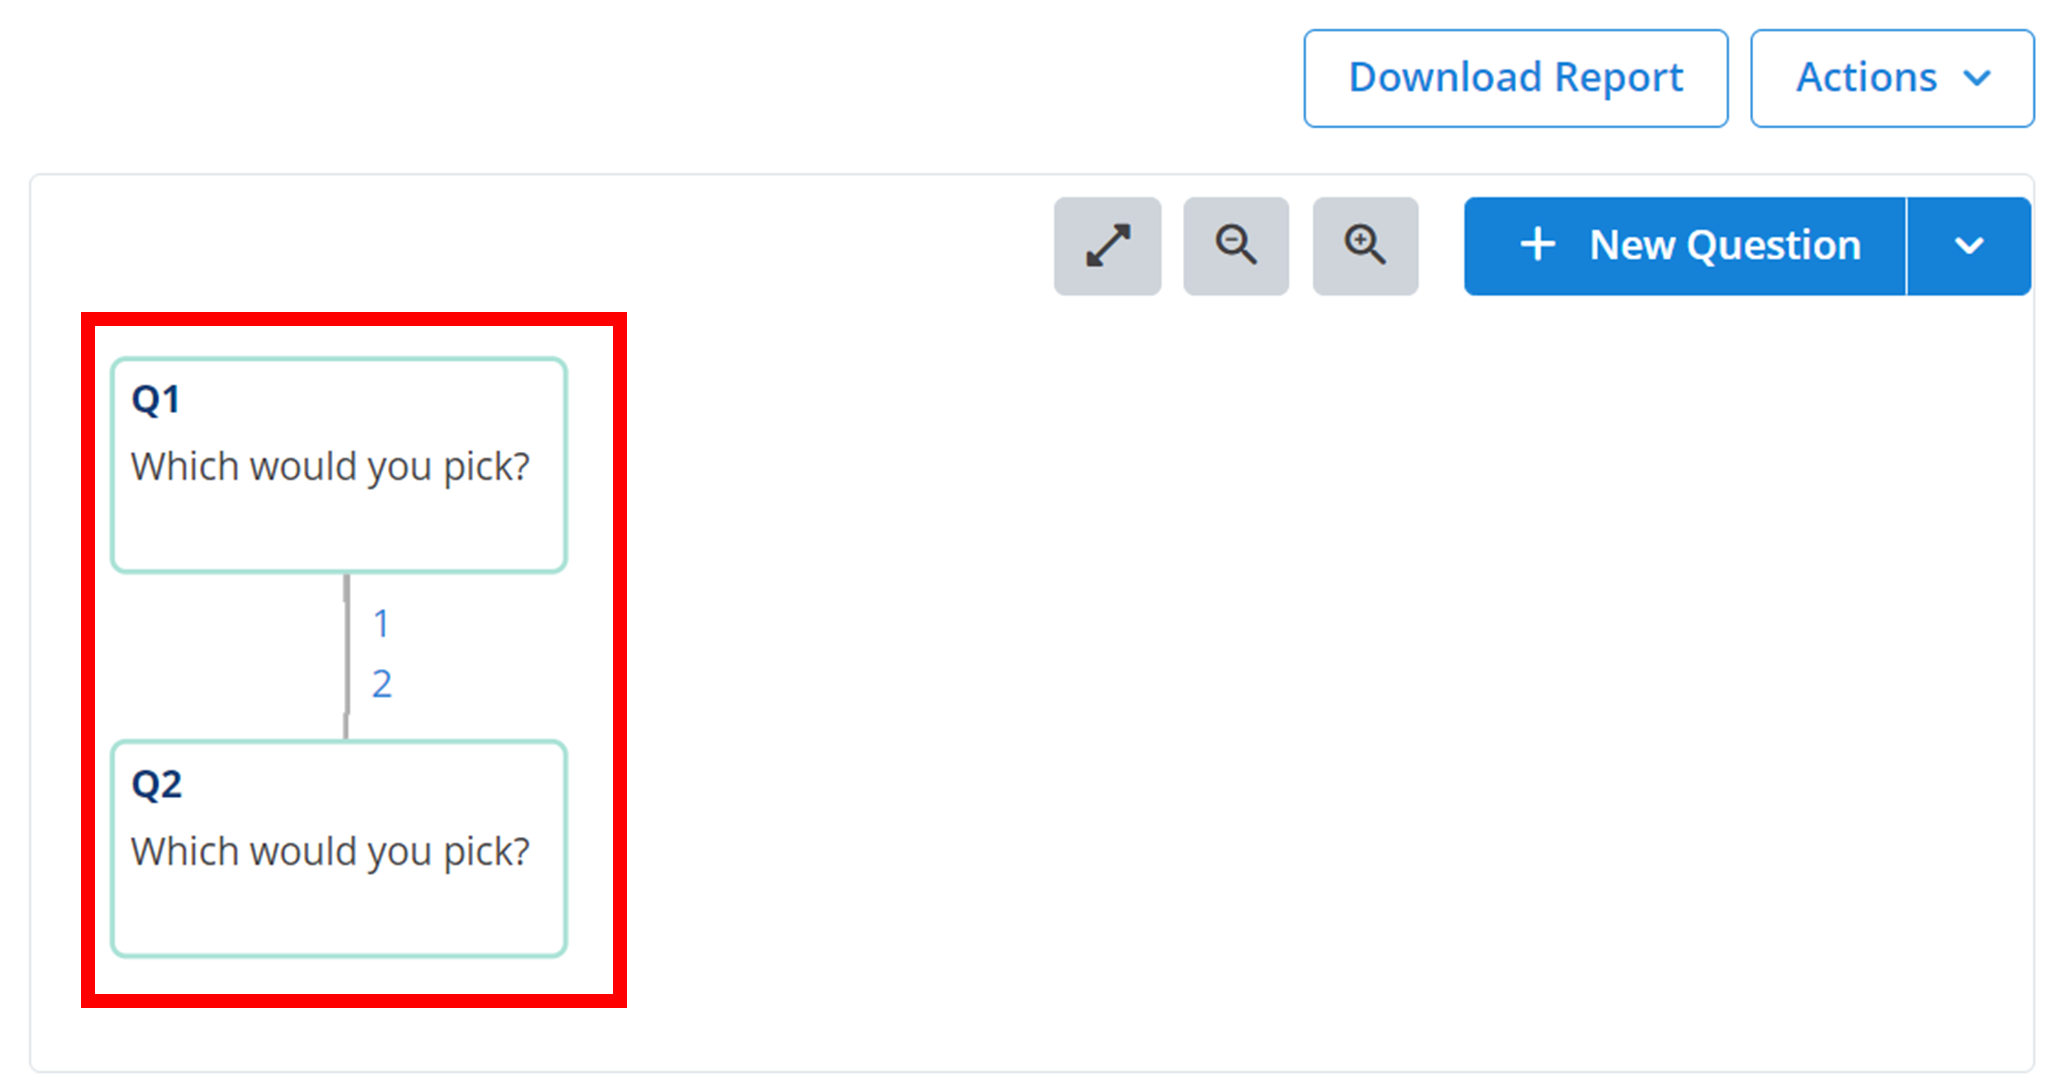
This decision tree will show all the paths that respondents can take depending on their answers to the survey. Every question in your survey is linked together, and you can customise how this happens. In the above example, all the answers to the first question will always lead to the second question, and then the survey ends. However, by going back and changing the Follow-up Question in the response handlers, you can link different answers to different questions, creating a full branching decision tree. You can edit any question simply by clicking on it in the decision tree. You can also create all your questions first and then link them all together later, or link them along the way. A more complex decision tree is visualised below.
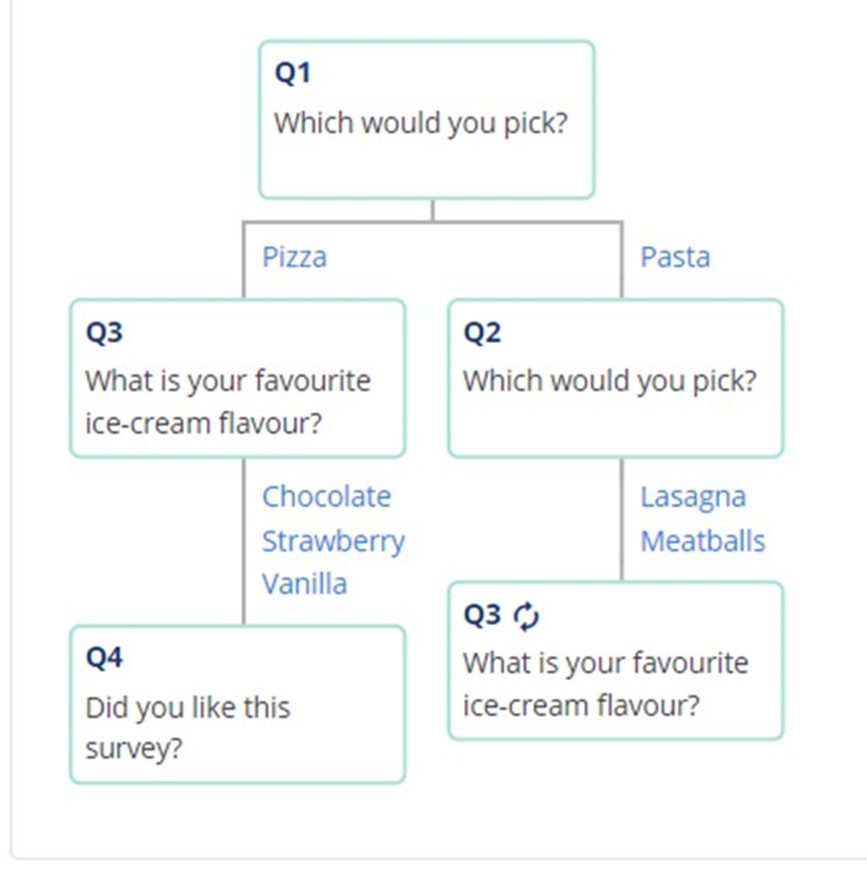
In this decision tree, respondents who respond to Q1 with 'Pasta' are asked Q2, then Q3, then Q4. However, respondents who respond to Q1 with 'Pizza' get asked just Q3, then Q4. Essentially, picking 'Pizza' for Q1 skips Q2.
If a question appears multiple times in the decision tree - like Q3 - its branches will only be visualised in one location. Everywhere else where the question appears, it will have a 🗘 icon next to its name. All instances of the same question always branch to the same location, except the decision tree will just not visualise repeats of the same branch.
Extra Actions
In the top right of the decision tree, there are extra actions to manage your tree.
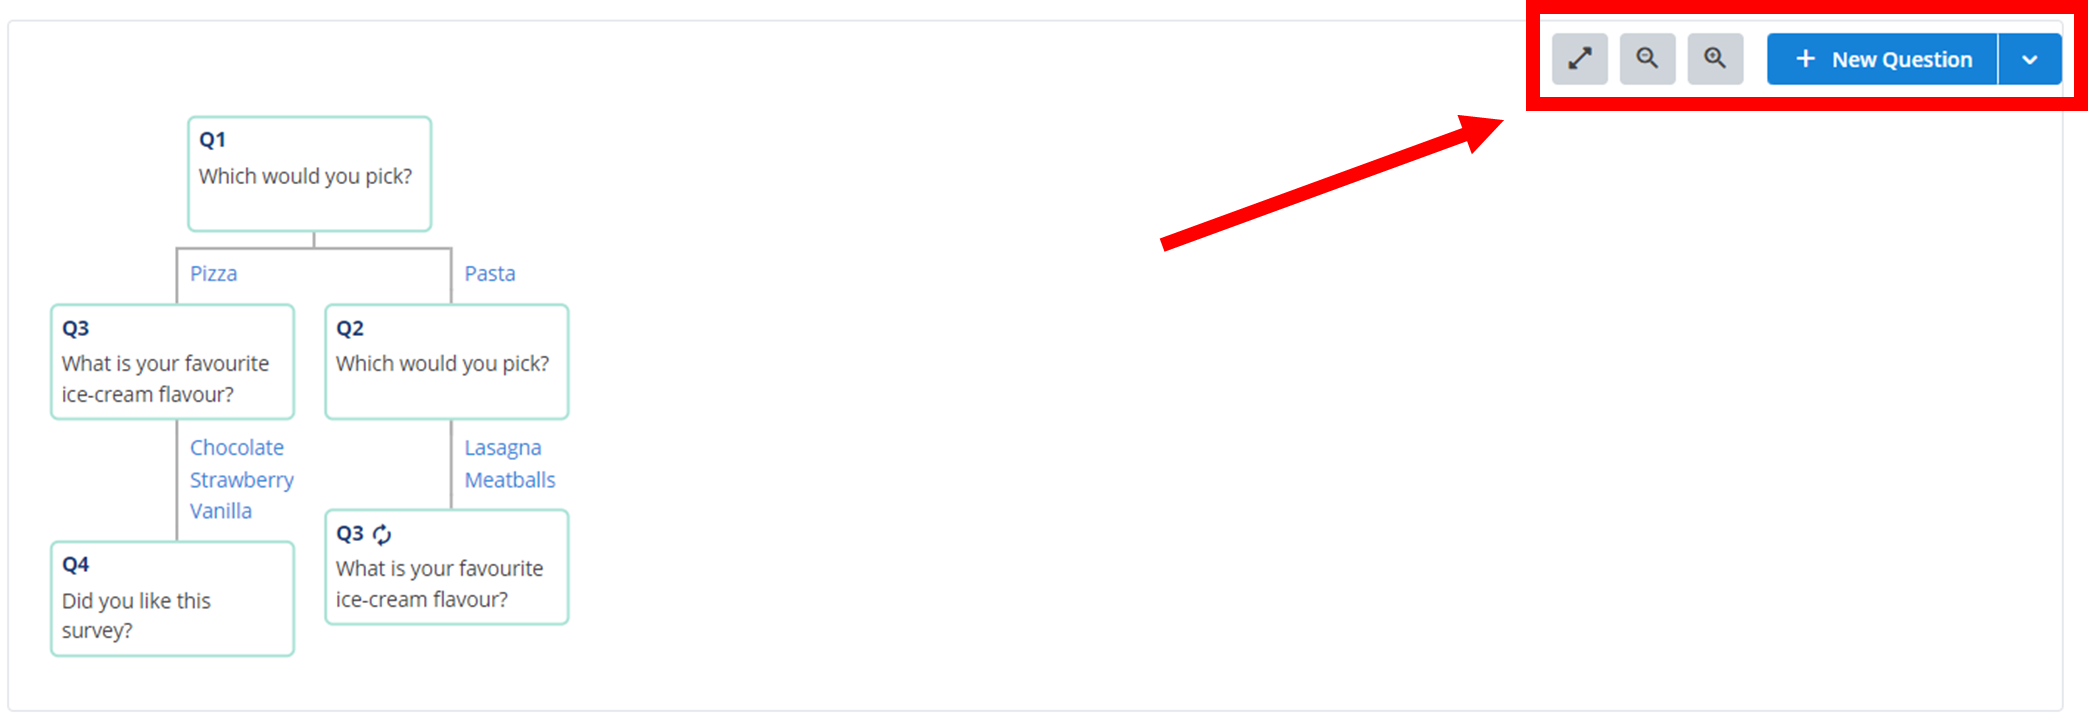
The ⤢ button will resize your decision tree to fit the display. The magnifying glass with the '-' sign will zoom the decision tree out, and the magnifying glass with the '+' sign will zoom the decision tree in.
Enter Selection Mode
Clicking the + New Question button, and then selecting Toggle Question Selection, will enter your decision tree into question selection mode.
Select Questions
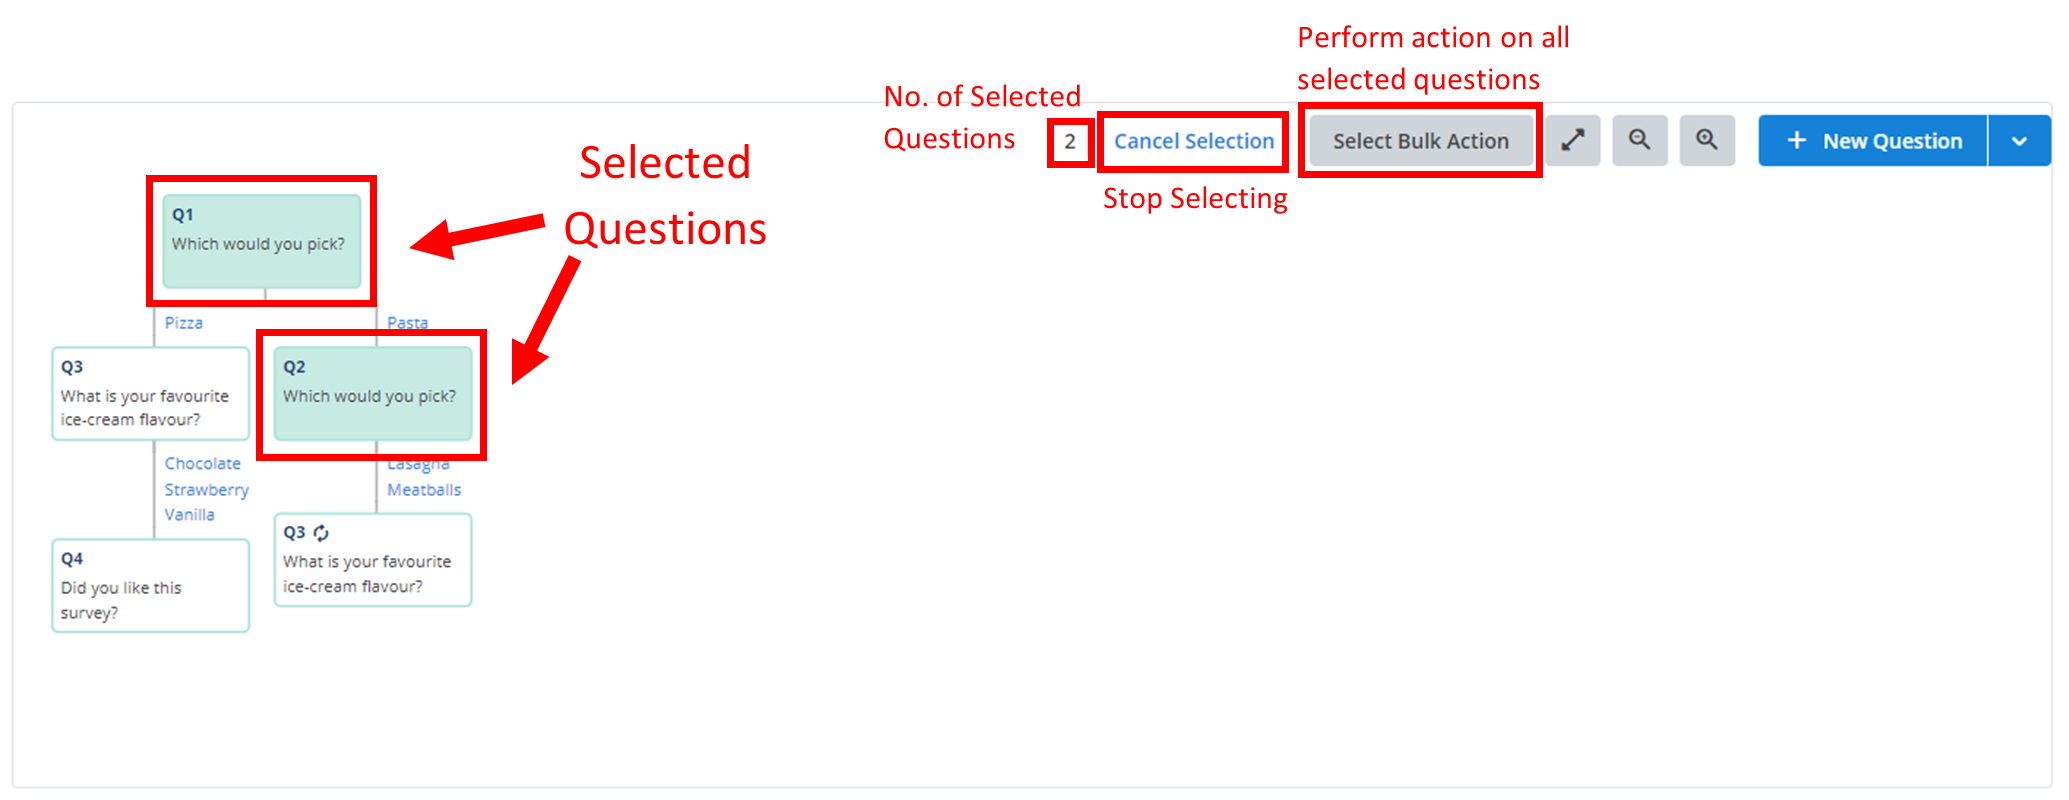
In question selection mode, clicking on any of the questions in your decision tree will 'select' them.
Perform Action
Once you have one or more questions selected, you can perform a 'bulk' action on them by clicking Select Bulk Action. You can cancel the question selection mode by clicking Cancel Selection on the left of the bulk action button. Finally, the number of selected questions is displayed on the left of the Cancel Selection button.
Bulk Actions
Select Bulk Action
Clicking on Select Bulk Action with one or more questions selected will bring up a new menu.
Choose Action
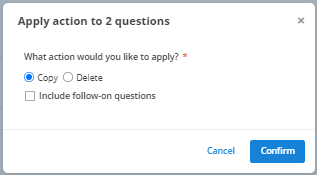
First, you must select what action you want to perform on all the selected questions. Do this by clicking on the bubble to the left of the desired action. In the example below, Copy has been selected.
Configure Settings
If you would like to apply the bulk action to all the questions that follow it, then select the checkbox that says Include follow-on questions. For example, in the previous decision tree annotation, every question is a follow-up to Q1. Thus, if you were to delete or copy it in bulk actions and included follow-on questions, every question in the survey would be deleted or copied.
Confirm
Finally, to execute the bulk action, click Confirm.
Details
You can navigate between different sections of your survey setup and management using the sidebar outlined below.
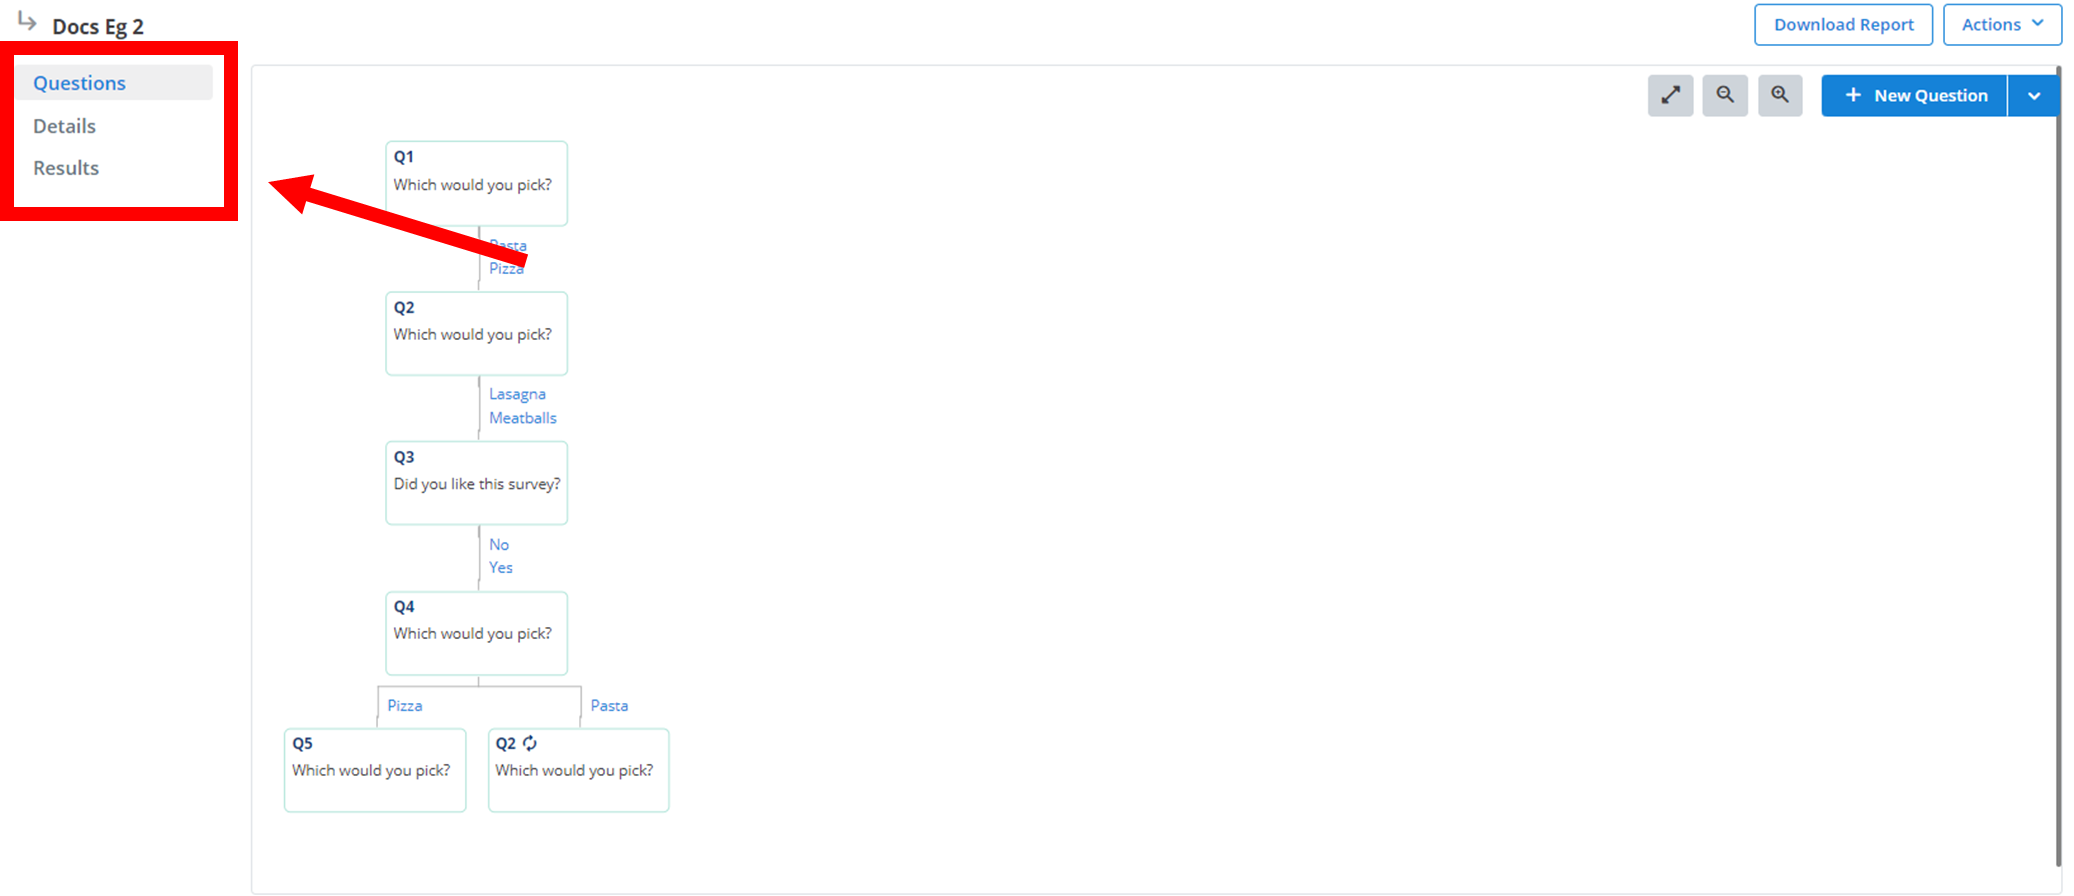
To access the details of your campaign, click on Details. Here you will see a brief summary of your survey. Name and Unrecognised Response Fallback Message are the same as explained earlier in Create. Save any changes made to the current survey details by clicking Save in the bottom right.
Results
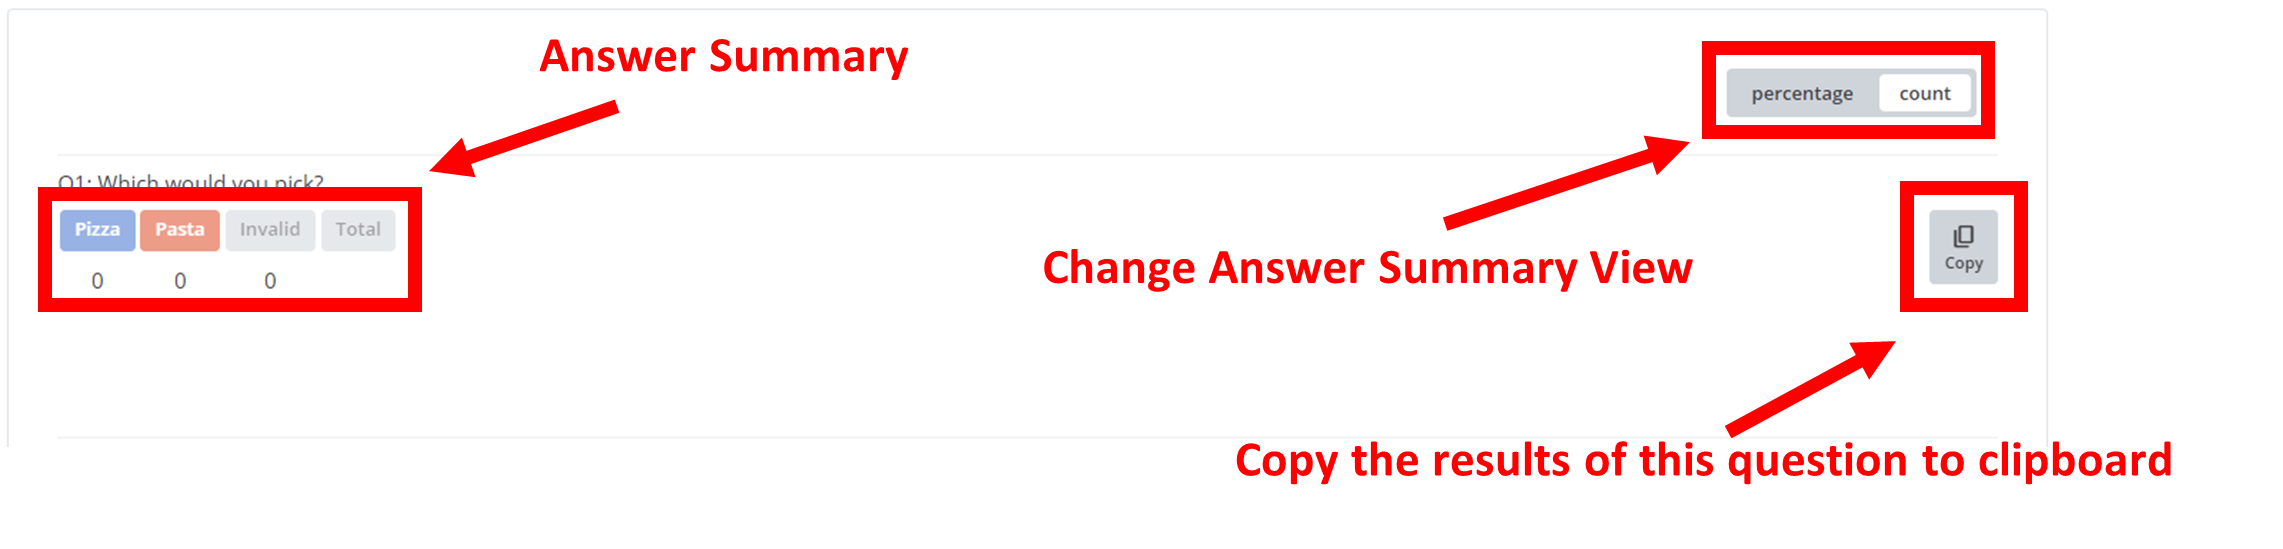
Navigate to Results on the sidebar. Here you will see an overview of every question in your survey and every received response. Under each question, it will display all possible answers. If a respondent's answer did not match any of your predetermined answers, it will count towards the 'Invalid' answer. The 'Total' answer is the number of responses received for this particular question. You can change the answer summary to a percentage of votes by selecting the 'percentage' option in the top right.
In the example below, Q1 is being viewed. The answer summary is currently in 'count' mode - displaying the objective number of votes each answer received.
Management
In the top-right of your survey menu, you will find two buttons: Download Reports and Actions.

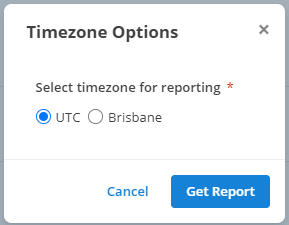
Download Report
This button will download a .csv file onto your device with a summary of all the questions, current answers, and times of responses to your survey. When you first click Download Report, it will bring up a menu like the one below. Here you must select the timezone you want your report to be in. In the example below, the 'UTC' timezone is selected. Then, click Get Report for the file to be downloaded onto your device.
Actions
Clicking on Actions ˅ will bring up a small menu where you can select your desired action:
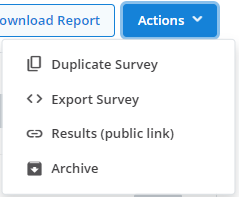
Duplicate Survey
Selecting this option will bring up a small menu.
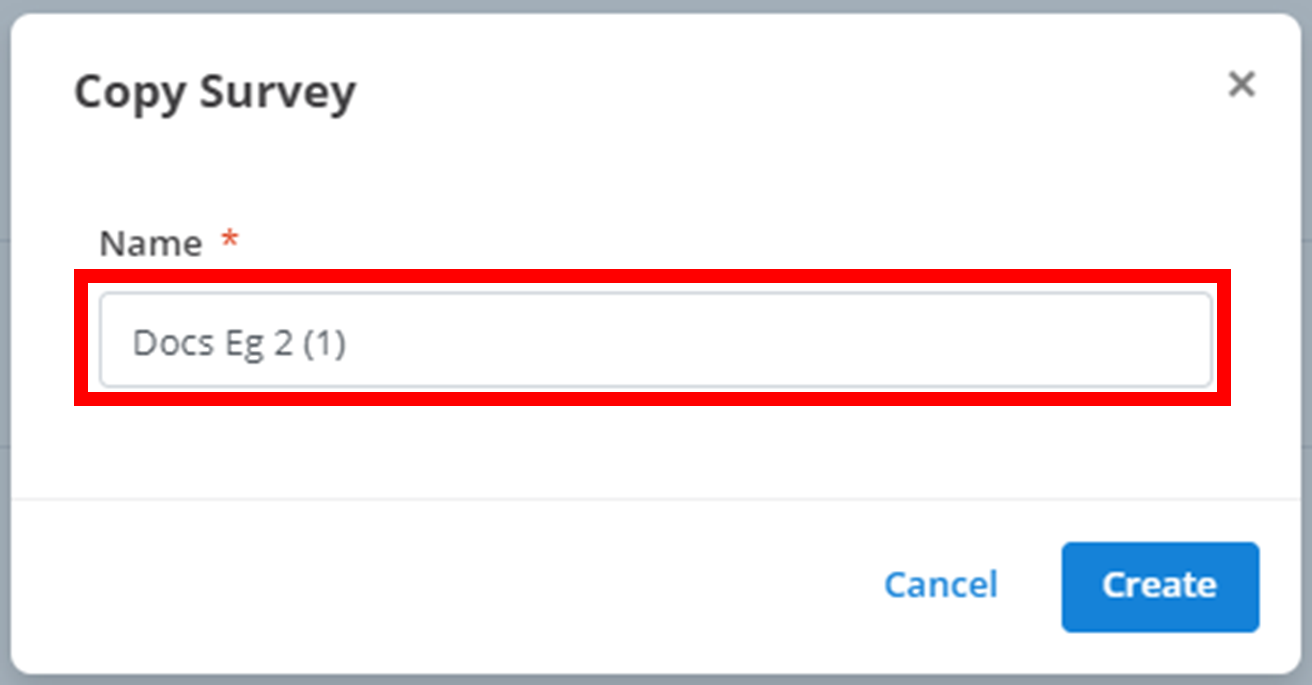
Simply enter the name of the new duplicate campaign in the outlined textbox, and then click Create to make the new duplicate.
Export Survey
Selecting this option will copy the results of the survey to your clipboard in a JSON format.
Results (public link)
Selecting this option will copy a link onto your clipboard. You can give this link to anyone and it will still work. Anyone who follows it will be directed to a summary of the results of this survey similar to the one in Results.
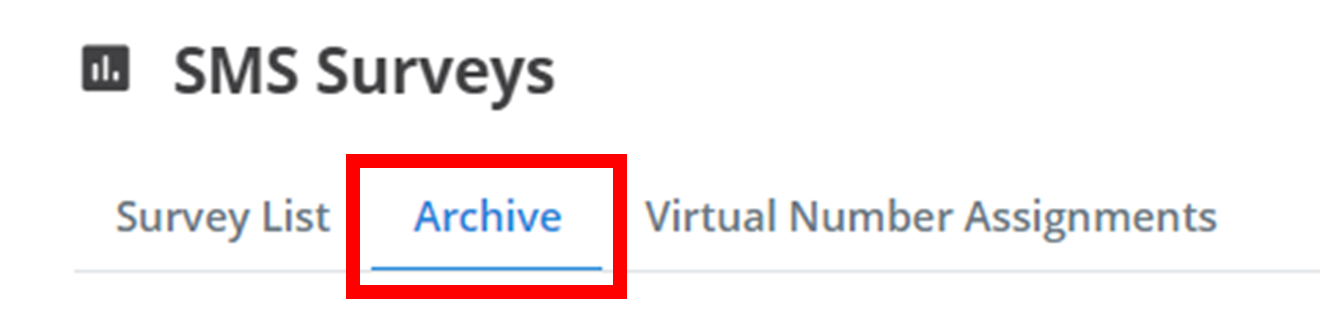
Archive
Selecting this option will move the survey's location into the 'Archive'. Now, instead of appearing in the 'Survey List' with all the other active surveys, it will appear in the 'Archive' as outlined below. You can remove a survey from the archive by repeating the archival process: navigate to the Actions ˅ of the desired survey, and click Remove From Archive.
How is this guide?