To send outbound emails using Message2Give, you need an Email Alias to send the email with. These email aliases can also have an Email Signature that will appear at the bottom of every email they send.
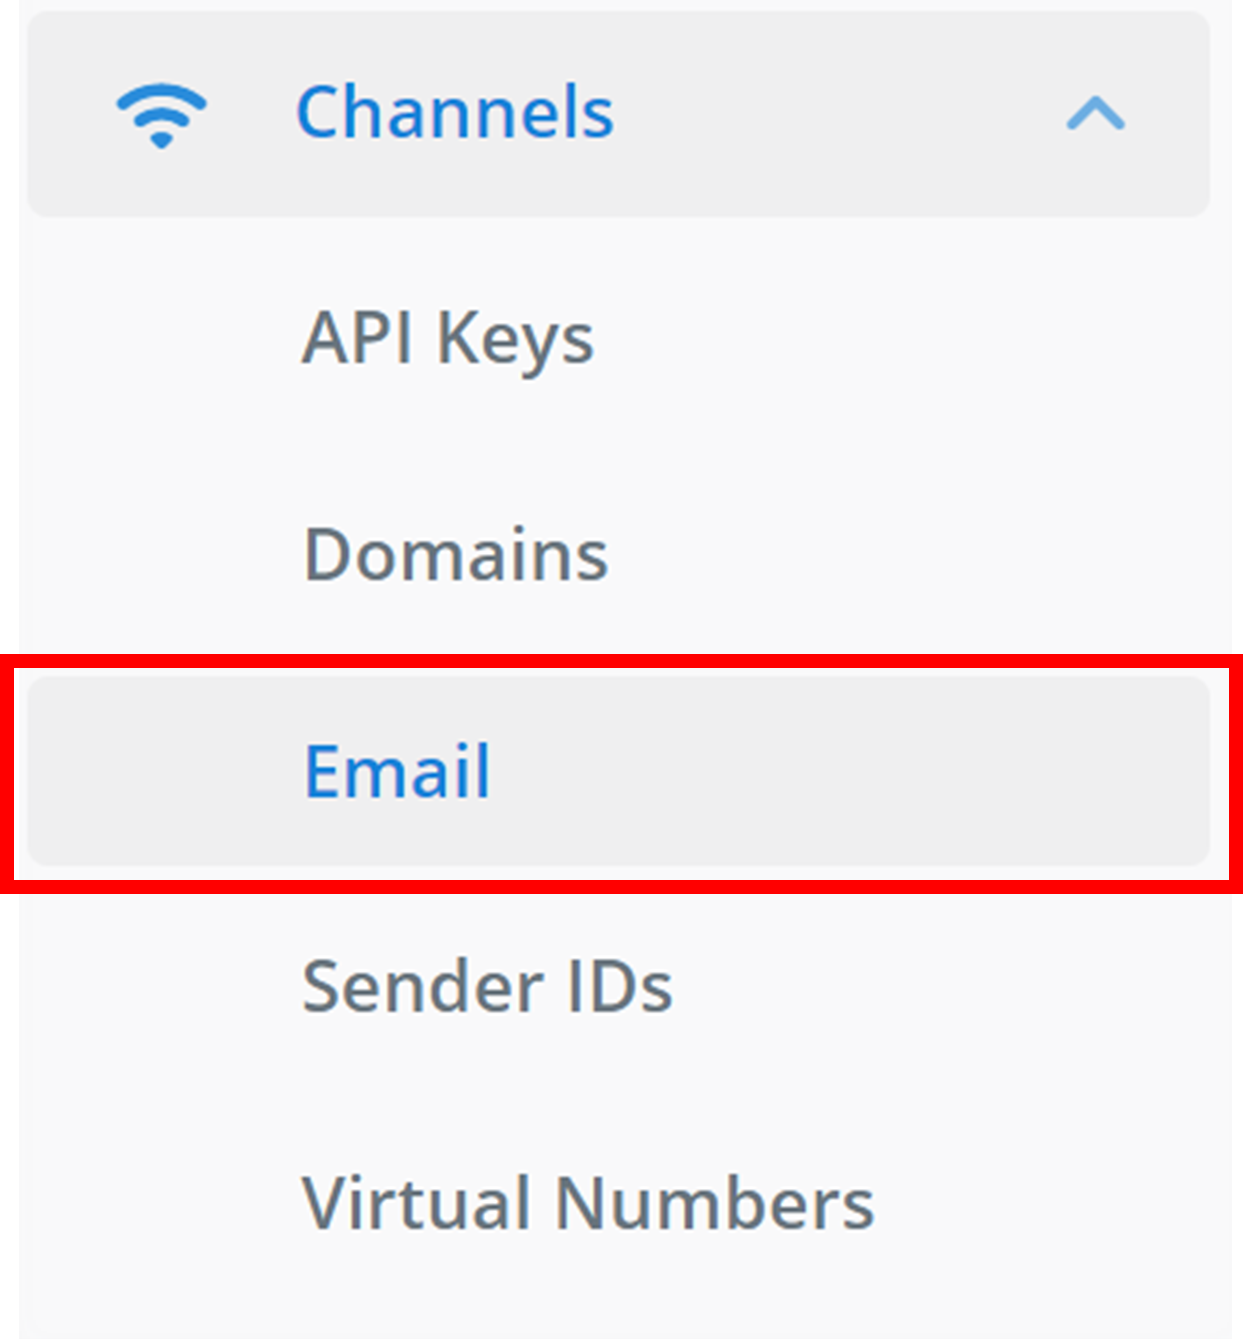
To find the Email section in your workspace: on the left sidebar, navigate to 'Channels', and then find 'Email'.
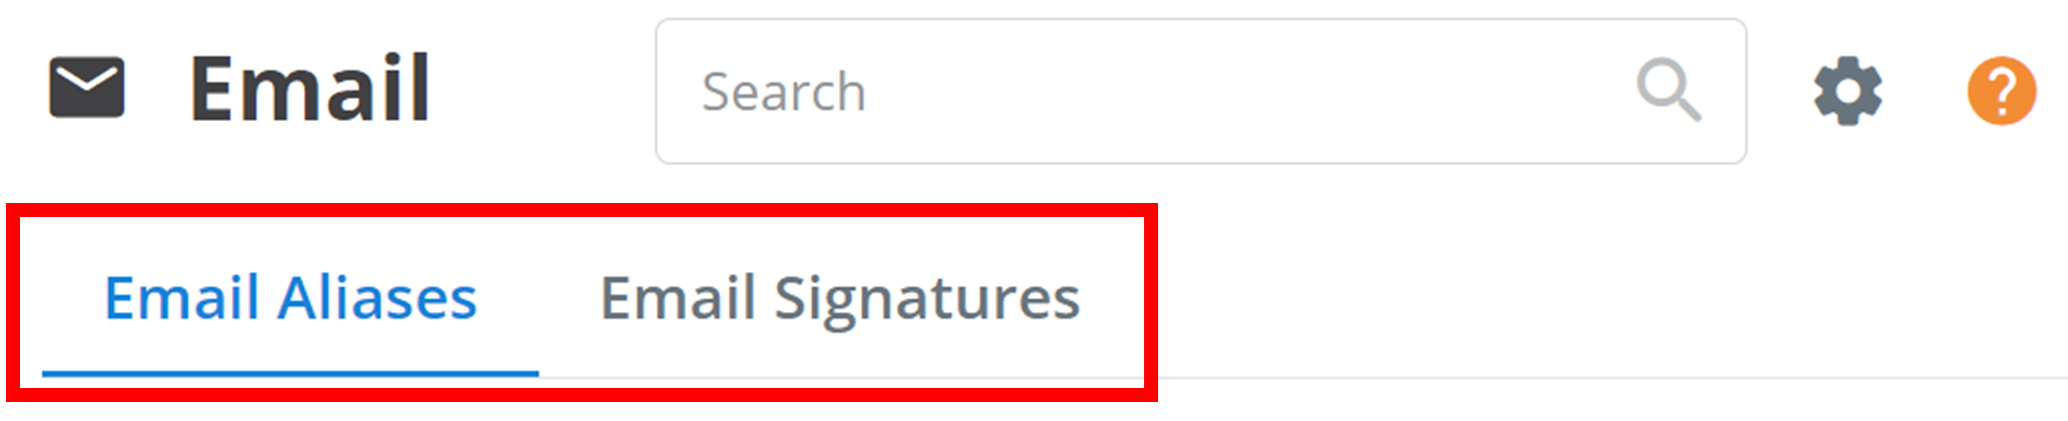
Then, to navigate between Email Aliases and Email Signatures, use the tabs at the top of the page:
Email Aliases
Create
Email Aliases are the outbound email senders that are registered for use in your workspace. To create a new email alias, click + Email Alias.

Configure
Clicking on this button will bring up a small menu like the one below:
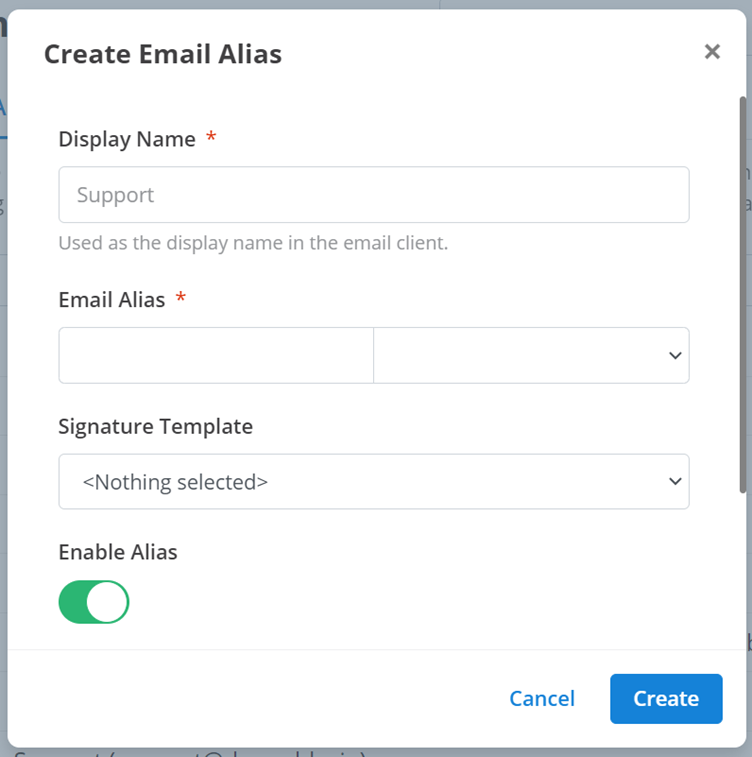
These are the settings and configurations of your new email alias. They are the:
- Display Name: the name of your email alias that is used to identify it within your workspace.
- Email Alias: the email address of your new email alias. The domain of the email address must be selected with the drop-down menu. The only domains available for use here are the domains that have been verified in your workspace. See Domains for more information. The following is an example entry for the email address 'abc123@example.com'. The first text box on the left here is the start of the email address 'abc123'. Then, the drop-down menu on the right is for the domain. Thus, 'example.com' should be selected.
- Email Signature: emails sent by the email alias can have an email signature at the bottom. These email signatures are created here. Select an email signature for the email alias from this drop-down menu. If you do not want an email signature for this alias, just select '<Nothing selected>'.
- Enable Alias: this enables/disables the functionality of the email alias within your workspace.
Then, to add the new email alias to your workspace, click Create.
:::note NOte You can immediately use any email aliases created under a Message2Give-registered domain. :::
Management
All of your workspace's email aliases will appear here:

This overview will display the enabled status of the email alias, then the alias' name.
To edit an email alias and all of its settings, click the pencil icon on the right of the email alias:

:::tip TIP You can search the email aliases by name using the 'Filter' text box. :::
Email Signatures
See the documentation for Email Templates. Specifically, look at the documentation for Email Signatures.
How is this guide?