Event Schemas
Overview
When an action is performed in a Message2Give service, it will trigger an 'event'. These actions include sending a message, concluding a chat, and updating a contact's information. These will all trigger events.
Catching Data
Each of these events also have some associated data. For example, when a chat is concluded, the triggered event will record the contact information of the chat participants.
You can then catch and store this data using an Event Subscription. So:
An action is executed.
An event is triggered. It will record information about the action.
The information is relayed to all the event subscribers and used. Learn more about event subscriptions here.
Custom Events
You can also create your own custom events. To define a custom event, you need to setup an Event Schema. Event Schemas provide a set of instructions of how an event should behave.
These custom events behave exactly the same as normal events. They still need to be triggered, they can still record information, and they can still pass this information on to "subscribers". The difference is, you can trigger a custom event wherever you want. It could be in a workflow, or in some external application. It's as simple as making an API request. Learn more about this custom triggering here.
Custom events essentially let you record the details of any arbitrary action in any location.
Schema "Instructions"
An event schema will define the "behaviour" of a custom event by specifying the data that it will record. Since an event is "triggered" by an API request, the event schema describes how the API request body should be formatted. This page will refer to a triggered event and its recorded data as this "API request body". This API request is explored more here.
Initialisation
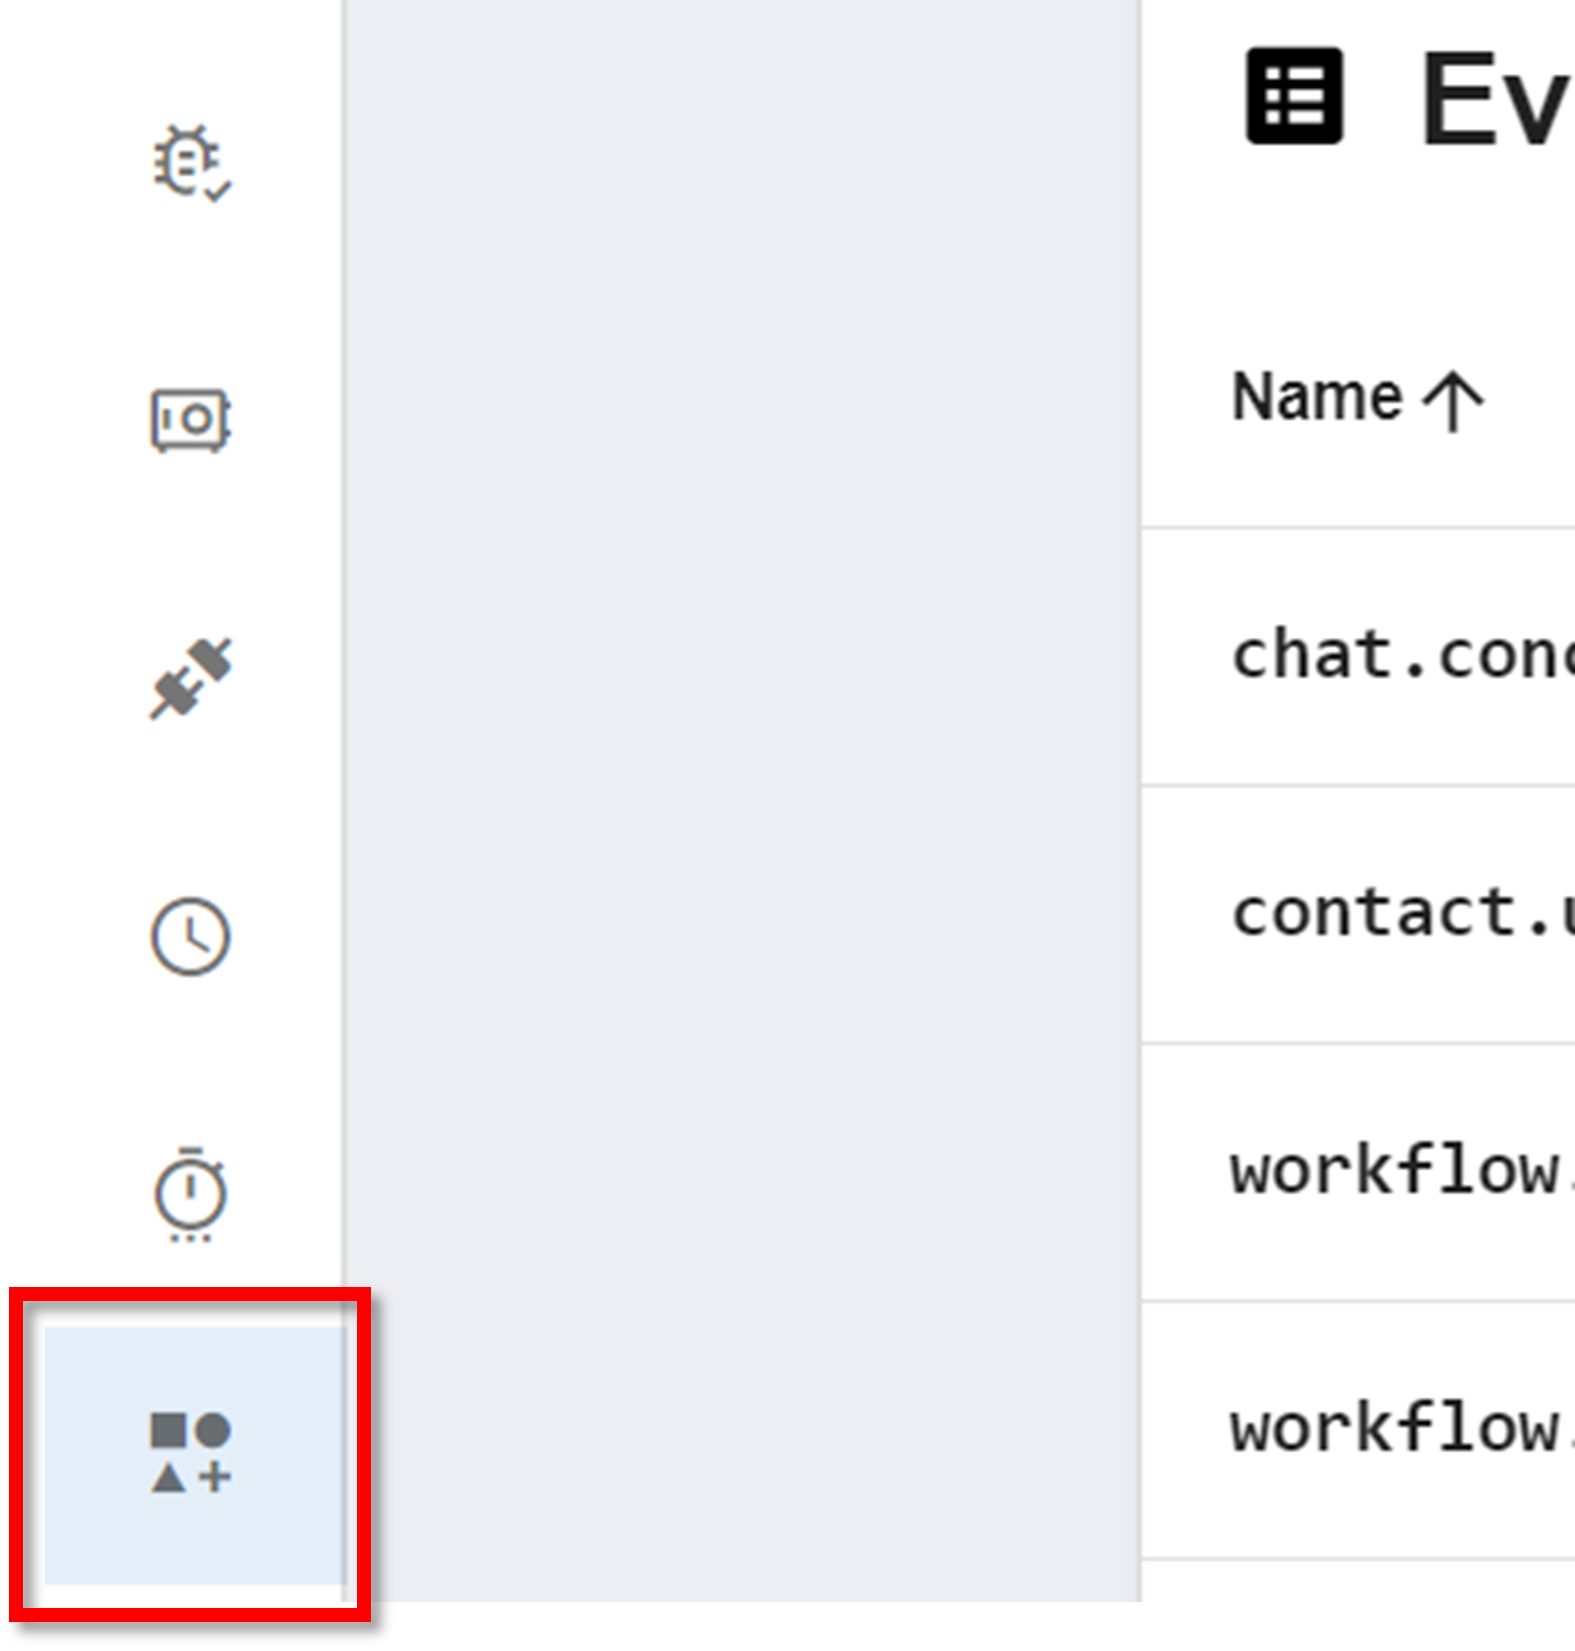
Navigate to Event Schemas
To create a new event schema, navigate to the Event Schemas section on the sidebar:

Configuration
JSON
Creating a new event schema will meet you with the following JSON:
{
  "type": "example.event.type.hierarchy",
  "additionalProps": {
    "enabled": false,
    "types": []
  },
  "properties": {
    "examplePropertyOne": {
      "type": "string",
      "required": true
    },
    "examplePropertyTwo": {
      "type": "object",
      "required": true
    }
  }
}
Explanations of the above properties:
- type: the name of the custom event.
- properties: each property of this object describes a property that the API request body should include. For each property in this object:
- the key is the name of the request body property. E.g.
"examplePropertyOne". - the
"type"property is the data type of the request body property. E.g."string". - the
"required"property is a boolean that indicates the necessity of the property.truemeans the request body must include this property.falsemeans the request body does not have to include this property.
- the key is the name of the request body property. E.g.
- additionalProps: describes how to handle API request body properties that do not appear in
"properties"."enabled": boolean.truemeans the request body cannot include any properties not defined in"properties". If the request body has additional properties, the event will be rejected.falsemeans the request body can include extra properties."type": an array of data types. These are the allowed data types for the request body's additional properties. The data types you can include are"object","array","string","number", and"*"."*"will allow all data types. If a request body has an additional property with an unsupported data type, the event will be rejected.
Example
Consider the example "properties" and "additionalProps":
{
  "additionalProps": {
    "enabled": false,
    "types": []
  },
  "properties": {
    "examplePropertyOne": {
      "type": "string",
      "required": true
    },
    "examplePropertyTwo": {
      "type": "object",
      "required": true
    }
  }
}
The API request body to trigger this example event must look like:
{
  "body": {
    "examplePropertyOne": "anything goes here"
  }
}
Naming An Event
An API request must mention an event's name to trigger it. An event subscriber must specify a list of event names for it to catch. So, it is important to name your event efficiently.
You can add prefixes to your event names to categorise them. For example, chat.start and chat.finish both share the chat. prefix. These prefixes can also be nested like chat.messaging.react and chat.messaging.audio. Event subscribers can then whitelist a specific prefix like chat. to catch all events with that prefix. Learn more about event subscribers and whitelisting here.
Important
An event name must be have all lowercase characters, no spaces, and no special characters.
Triggering an Event
Overview
To "trigger" an event, you need to make a POST request. The URL of this request must be formatted as "https://custodian.dev.tedirex.yabbr.io/2022-02-02/organisations/{{workspace-id}}/events/publish" where {{workspace-id}} is the ID of your workspace. This same URL is used to trigger all the event schemas in your workspace. Access your workspace ID by navigating to the Message2Give App, clicking the workspace icon in the top right of your screen, and clicking on info. Alternately, navigate to Account Details.
Request Body
To specify which event you are triggering, and its associated data, you need to include some extra properties in the body of your request:
"type": the name of the event."body": the associated data of the event. This is an object. It is the "request body" referred to in Configuration. This"body"should match the"properties"in the event schema."linkId": the category of the event. This value is an arbitrary label. It is just used to group similar event triggers together. For example, events triggered by the same user may share the same link ID to indicate their association with the same user. In this context, you could make the link ID the user's ID."participants": array of userIDs involved in the event.
Behind the Scenes
Thus, events actually function in a three step process:
A POST request is made detailing an event name and some associated data.
The event schema with the requested name validates the request to ensure data is correctly formatted.
The event subscriber catches the data from the POST request.
Sending the Request
Since these events are triggered by a POST request, they can be triggered wherever and whenever you want. This is the primary functionality of a custom event. You choose how the request is sent. You could set it up with a workflow, or maybe some external application. When one of your processes is activated, it could send this POST request and thus trigger one of your custom events. This custom event can then be used to trigger a webhook. Learn more about that in Event Subscriptions.
Message2Give's Events
Message2Give's predefined events work in the exact same way. Each one has its own event schema. Then, when the relevant action is performed, Message2Give sends a POST request triggering the relevant event. This event is then validated by one of Message2Give's event schemas. Since these schemas are global for all workspaces to use, event subscribers from any workspace can then catch these events.
Management
After creating a schema or navigating to the event schema page using the sidebar, you will be met with the event schemas homepage:
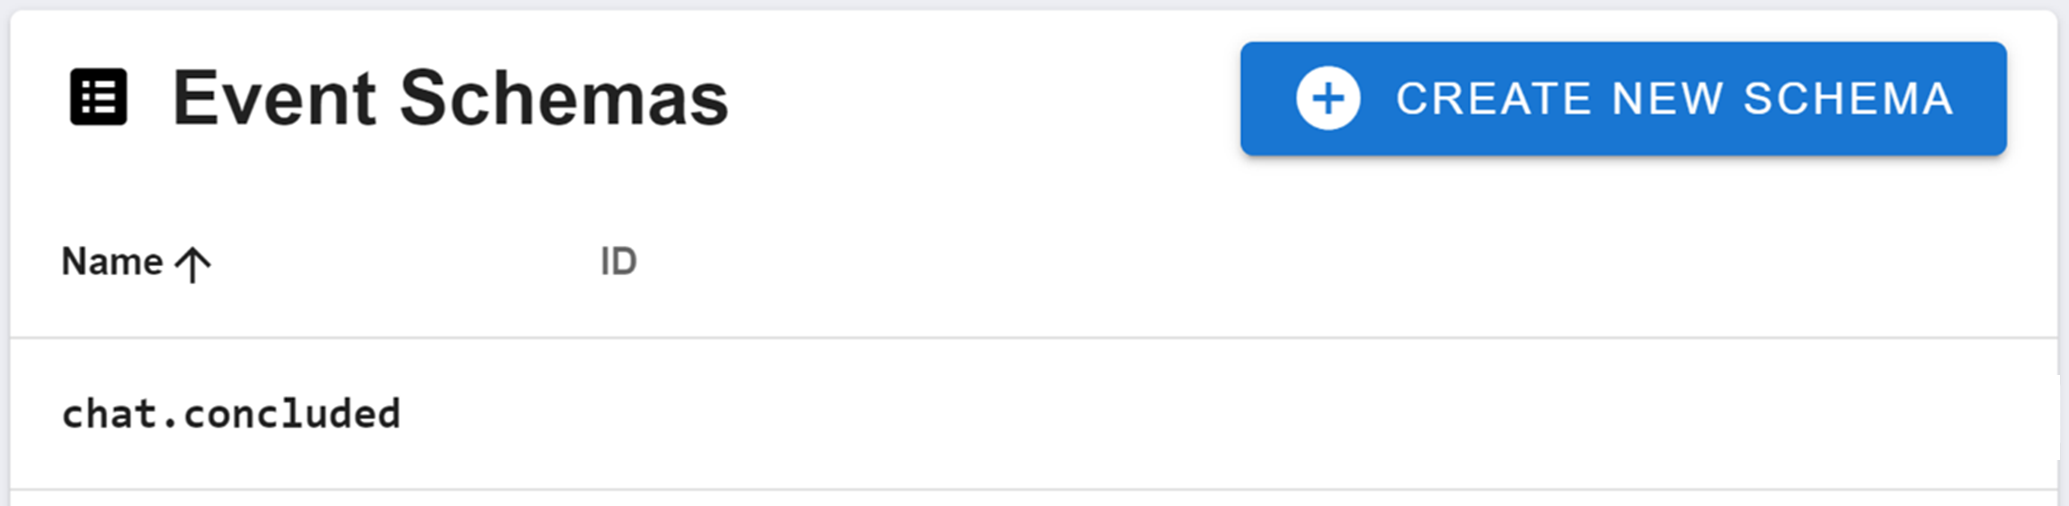
The events schemas homepage will display all of your workspace's event schemas. It will display the event's name on the left, and its ID on the right. Click on an event schema here to edit it.
How is this guide?