Scheduled Events
A scheduled event lets you make a timed API request. All you need to do is setup a designated time and the specifications of your API request. Then, once the designated time is reached, the request will be made.
This is most useful for activating your workflows. By using the start endpoint of a workflow, you can schedule the workflow to activate automatically at whatever time you want. Additionally, you could use the execute endpoint of a workflow so that you can resume a workflow at a designated time.
Initialisation
Navigate to Scheduled Events
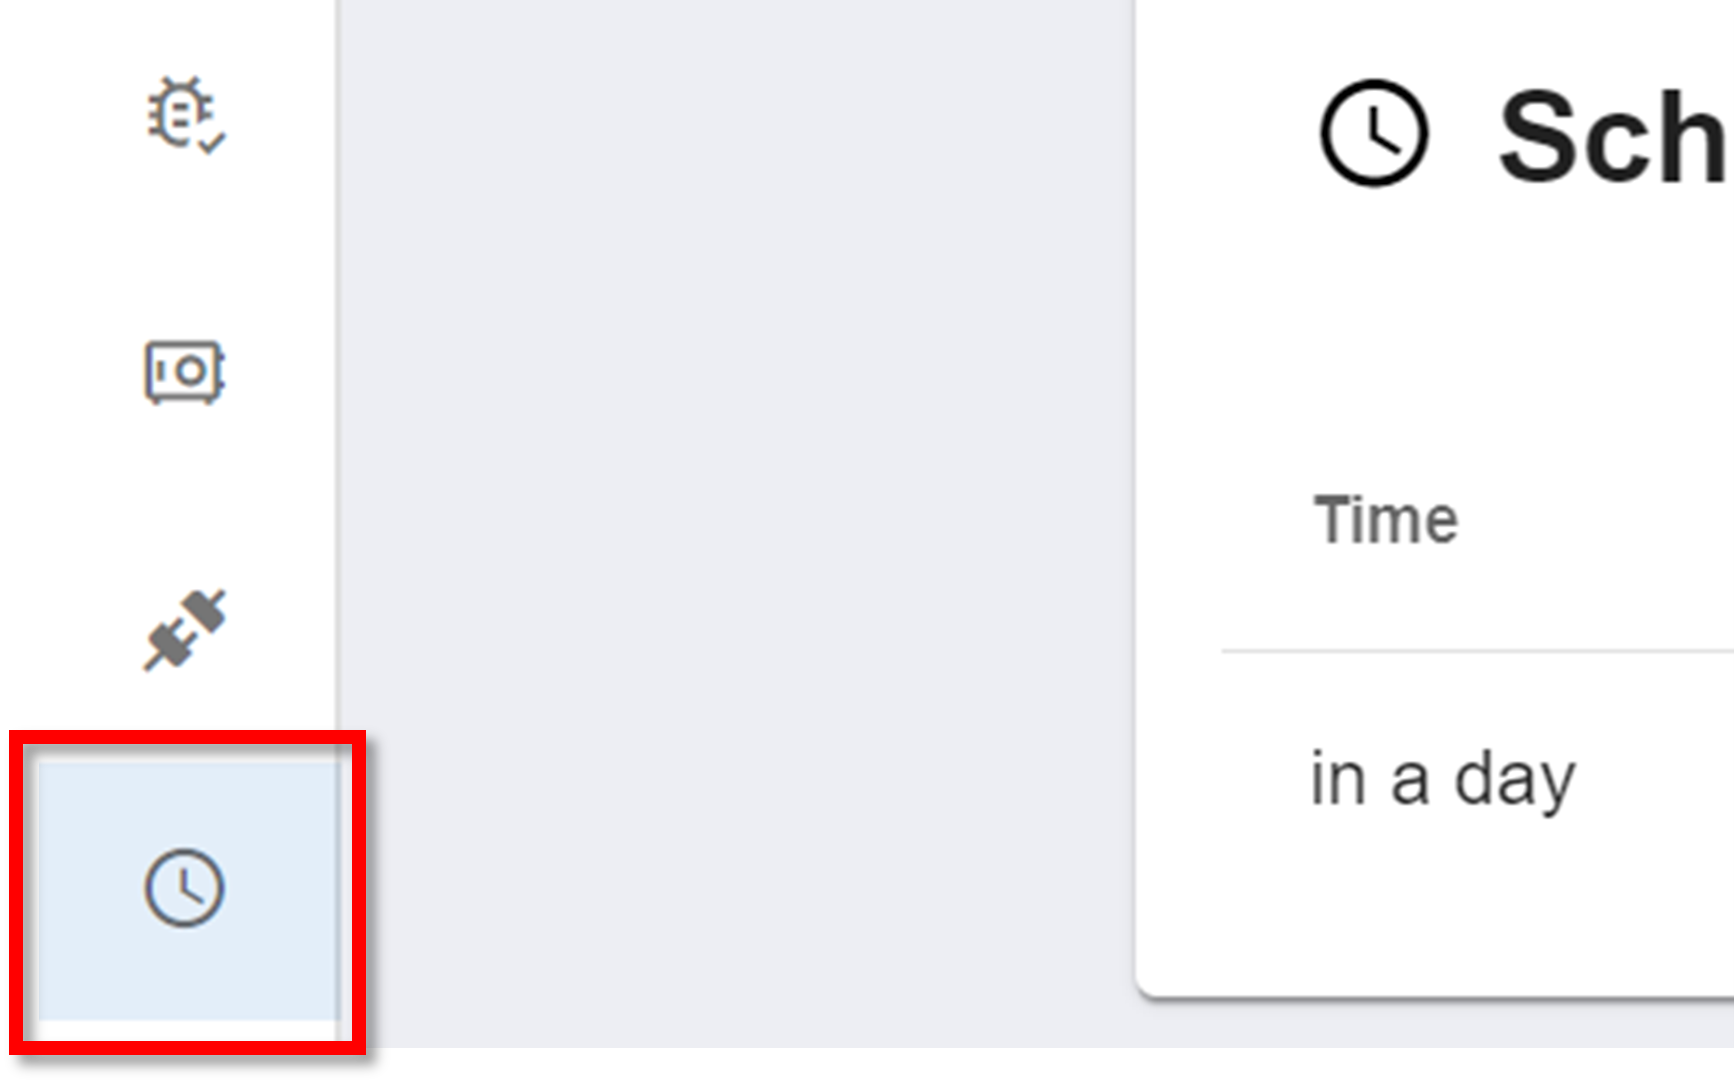
To create a new scheduled event, navigate to the Scheduled Events section on the sidebar:
Configuration
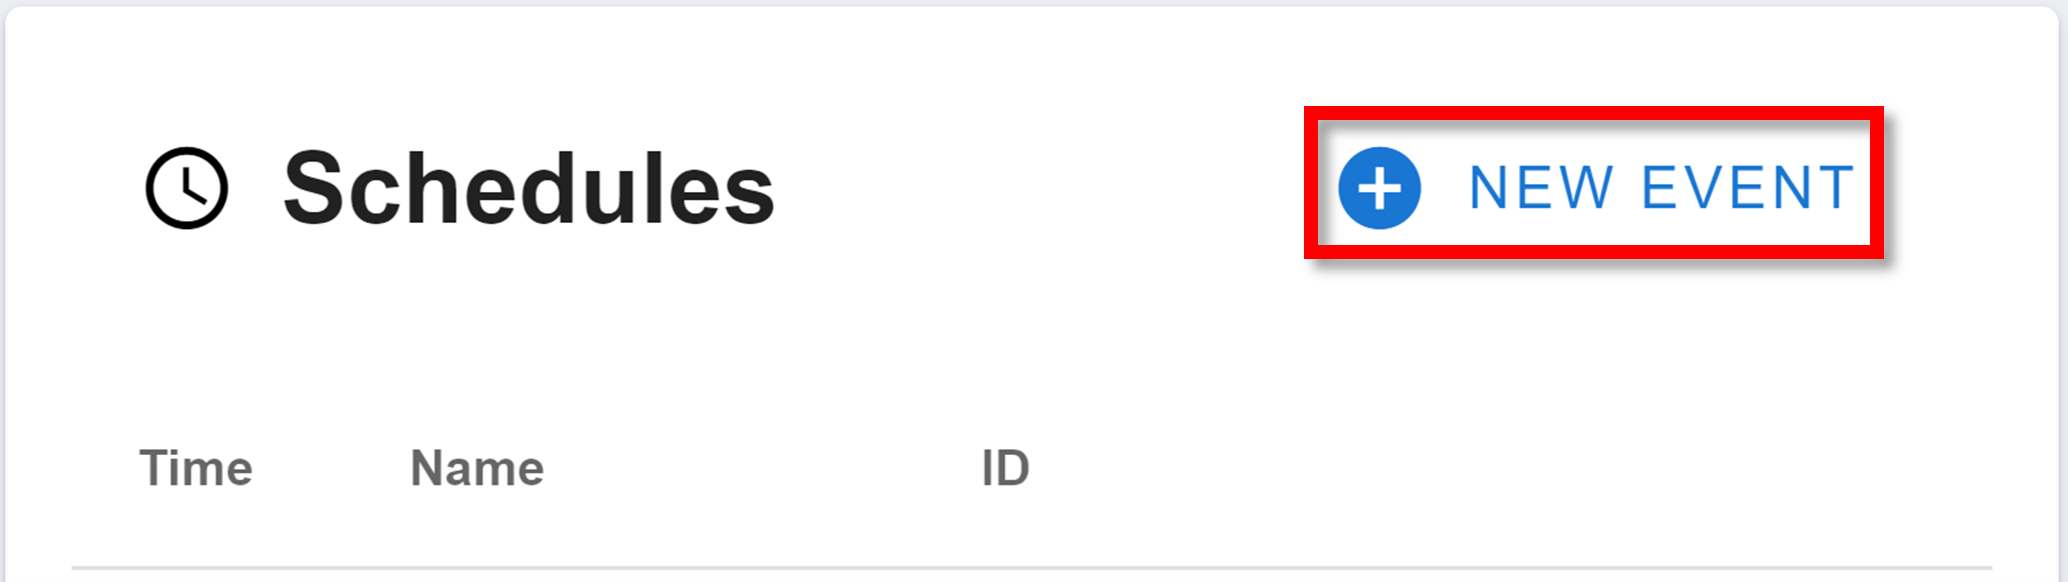
Creating a new scheduled event will meet you with the following JSON:
{
  "name": "",
  "scheduledTime": "2024-04-20T08:00:00.000Z",
  "url": "",
  "method": "POST",
  "body": {},
  "headers": {}
}
Explanations of the above properties:
- name: the name of the scheduled event. Used to identify different events within your workspace.
- scheduledTime: the designated time you want to make the API request at.
- url: the API endpoint you want to make the request to.
- method: the type of request you are making (usually POST or GET).
- body: the body of the API request.
- headers: the headers of the API request. This is usually for the authentication of the 'request.
Most of these properties just follow standarad API request standards.
Management
After creating an event or navigating to the scheduled events page using the sidebar, you will be met with the scheduled events homepage:
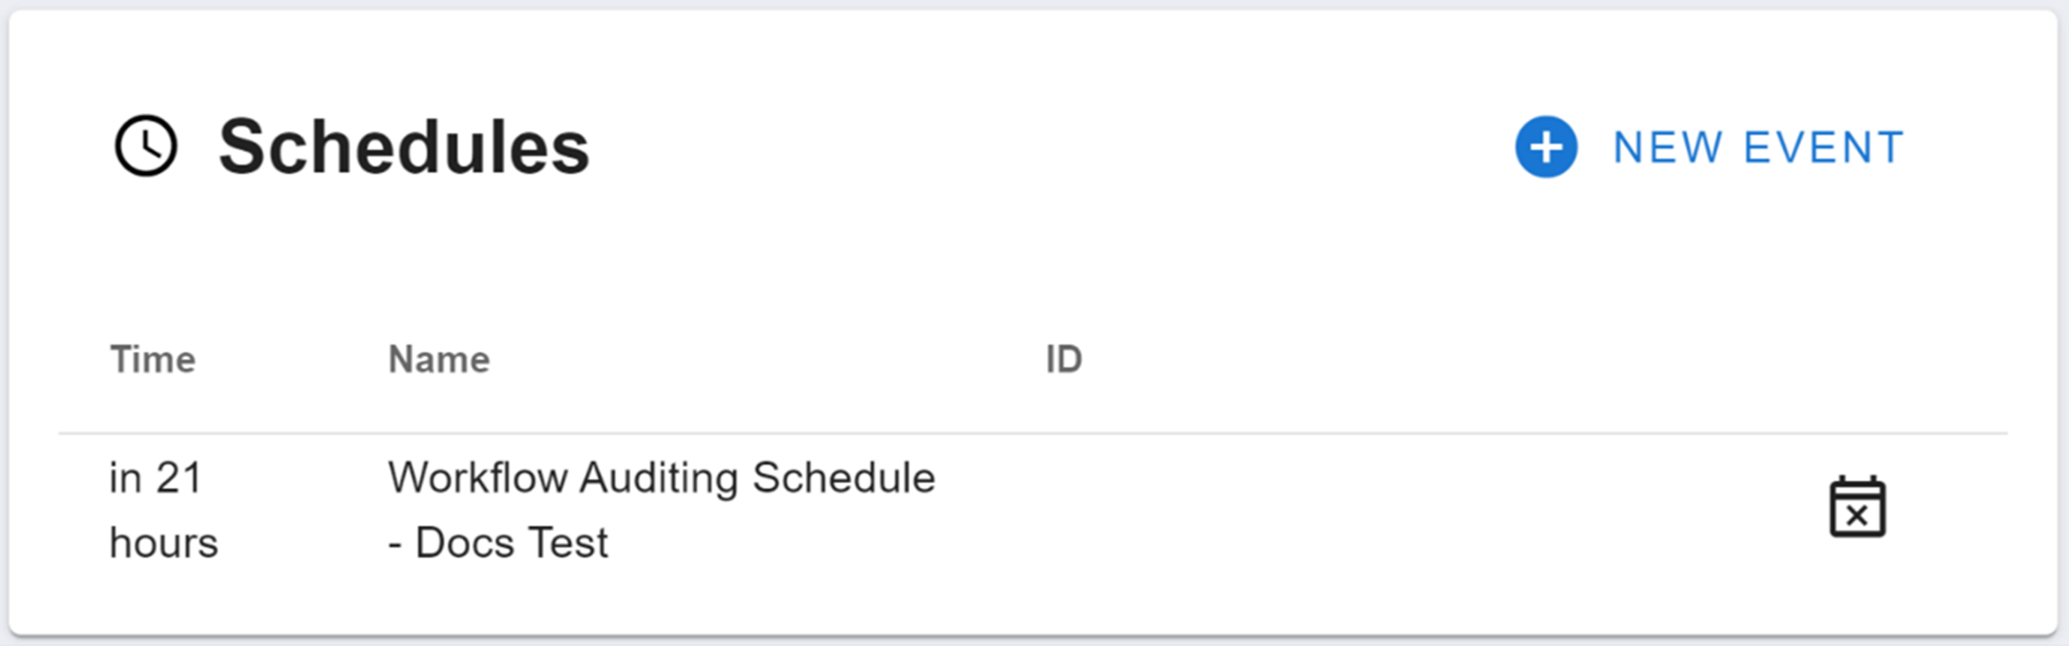
The scheduled events homepage will display all of your workspace's scheduled events. From left to right, the menu will display:
- the duration until the event is activated
- the name of the scheduled event
- the ID of the scheduled event
- the delete button
To remove a scheduled event, click the delete button. A small menu will then appear where you need to type the word 'confirm'. Then click DELETE.
How is this guide?