Workflow Audits
Overview
A Workflow Audit allows you to check that a workflow is running correctly. When an audit is run on a workflow, it will analyse all the recent instances of the workflow. If the analysis shows that the workflow is running abnormally, the audit will alert you with an email.
Verifying Functionality
An audit will analyse two things in the recent instances:
- the number of instances (how many times has the workflow been run?)
- the steps executed in each instance
If any of these factors do not align with expected results, an error is alerted. You can customise these "expected results" in the audit.
Scheduling
Audits will run according to a predetermined schedule. This schedule will run forever until the audit is deleted. So, if your schedule has your audit running once a day, then you will get daily updates on the functioning of your workflow. Additionally, it will only analyse the instances that occured since the last audit. If it is the first audit, it will analyse all instances since the creation of the audit. For example, if the schedule is running the audit once a day, then each audit will analyse the last 24 hours of instances.
Customisation
An audit allows you to customise:
- which steps in the workflow are checked
- how many times the workflow is expected to run in a period of time
- a schedule of how often the audit will run
- emails to send audit results to
Initialisation
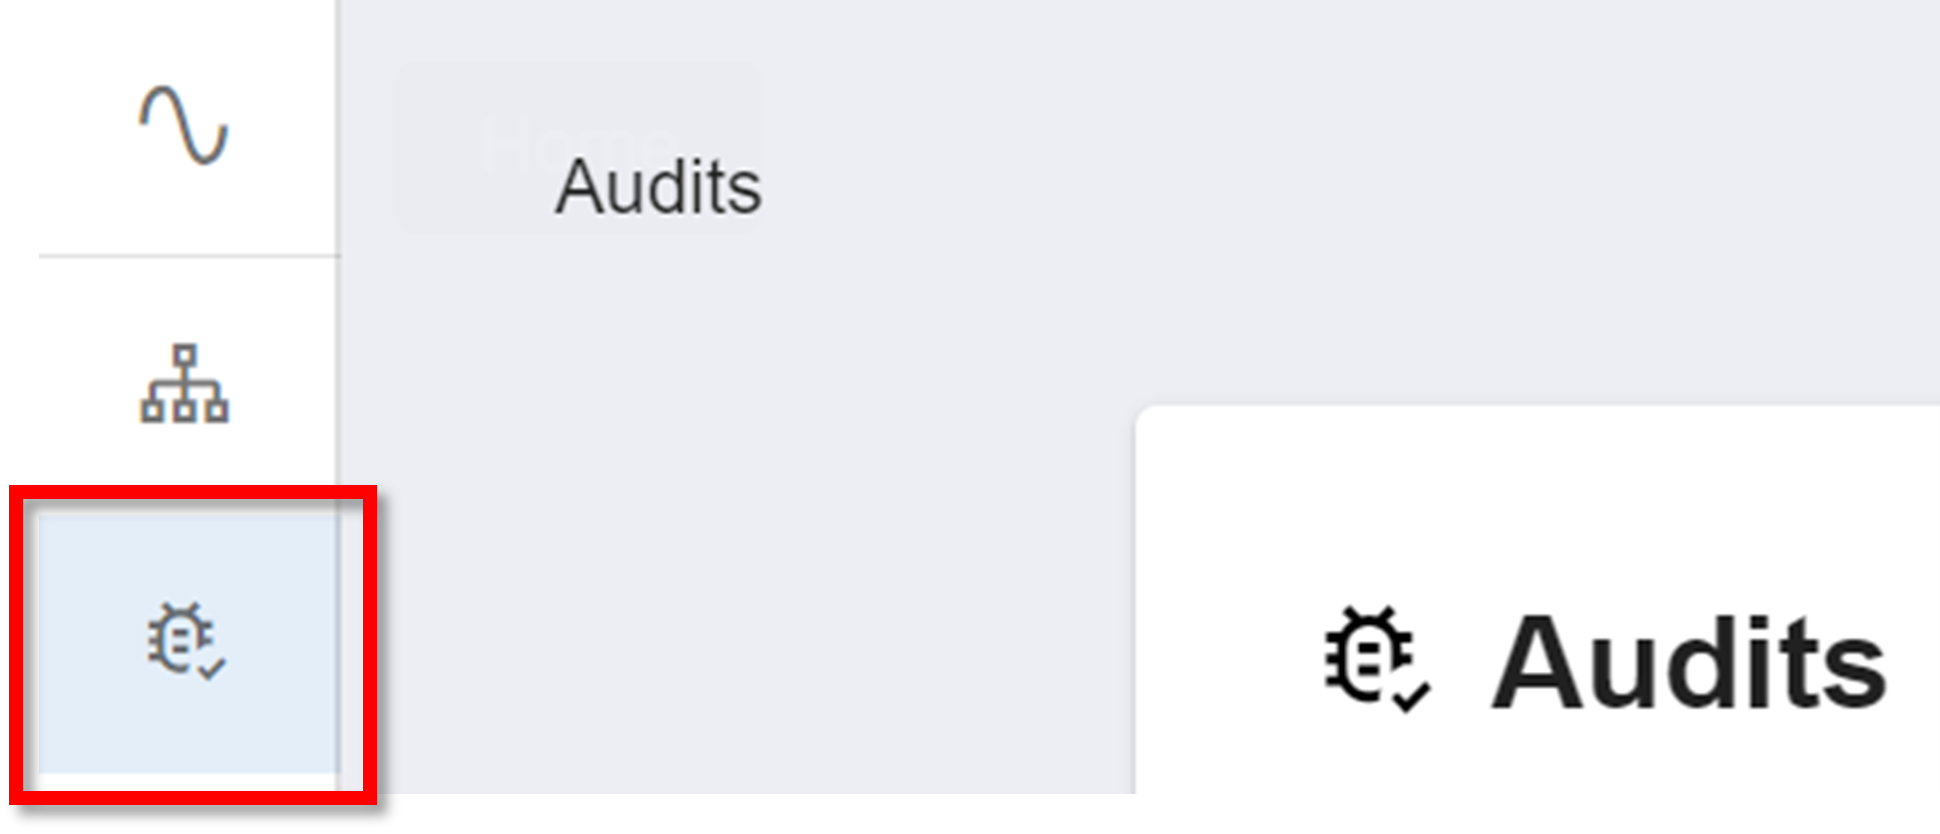
Navigate to Workflow Audits
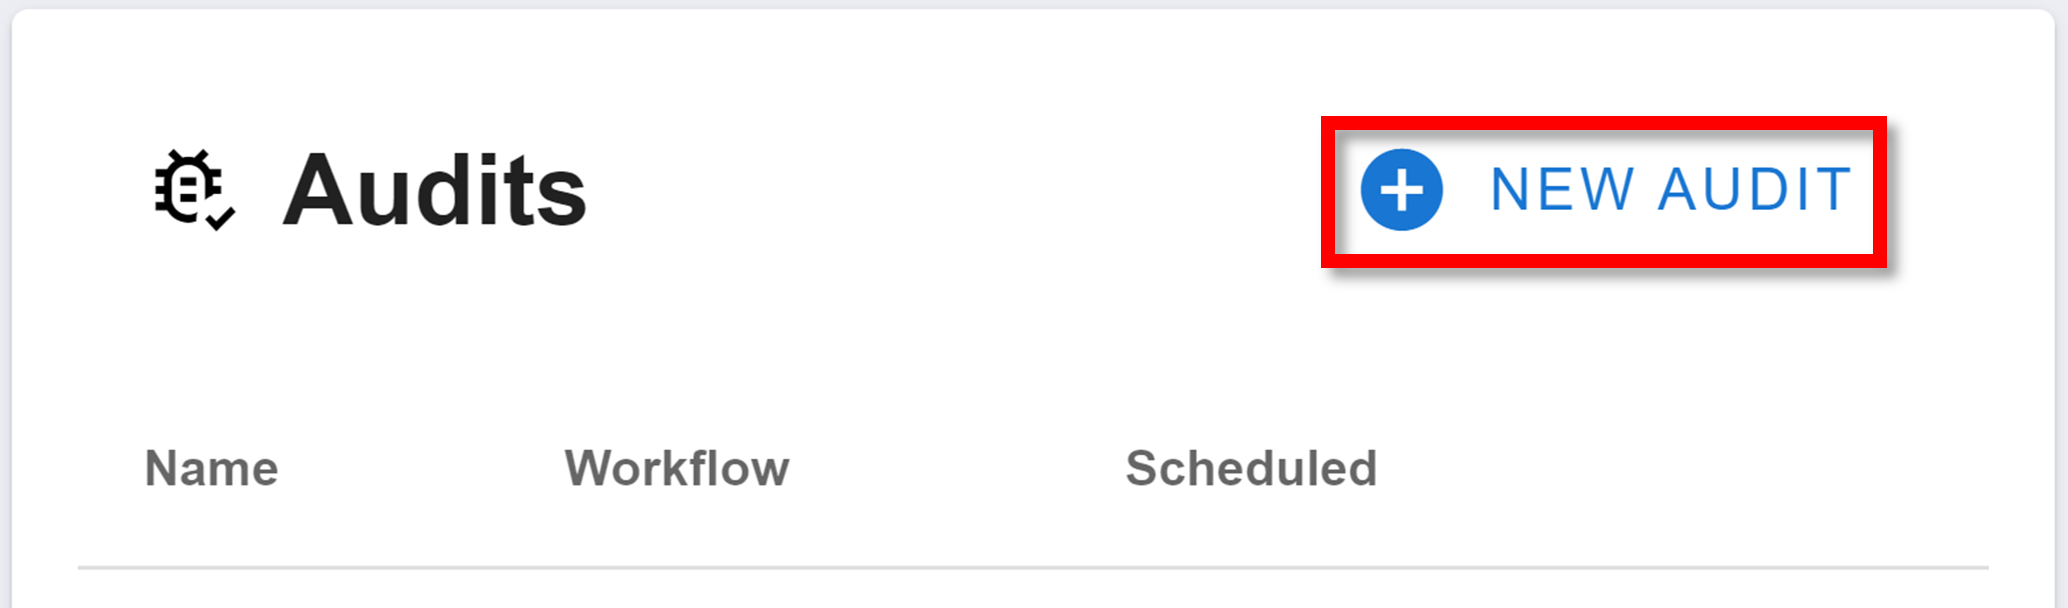
To create a new audit, navigate to the Workflow Audits section on the sidebar:
Configuration
Creating a new audit will meet you with the following menu:
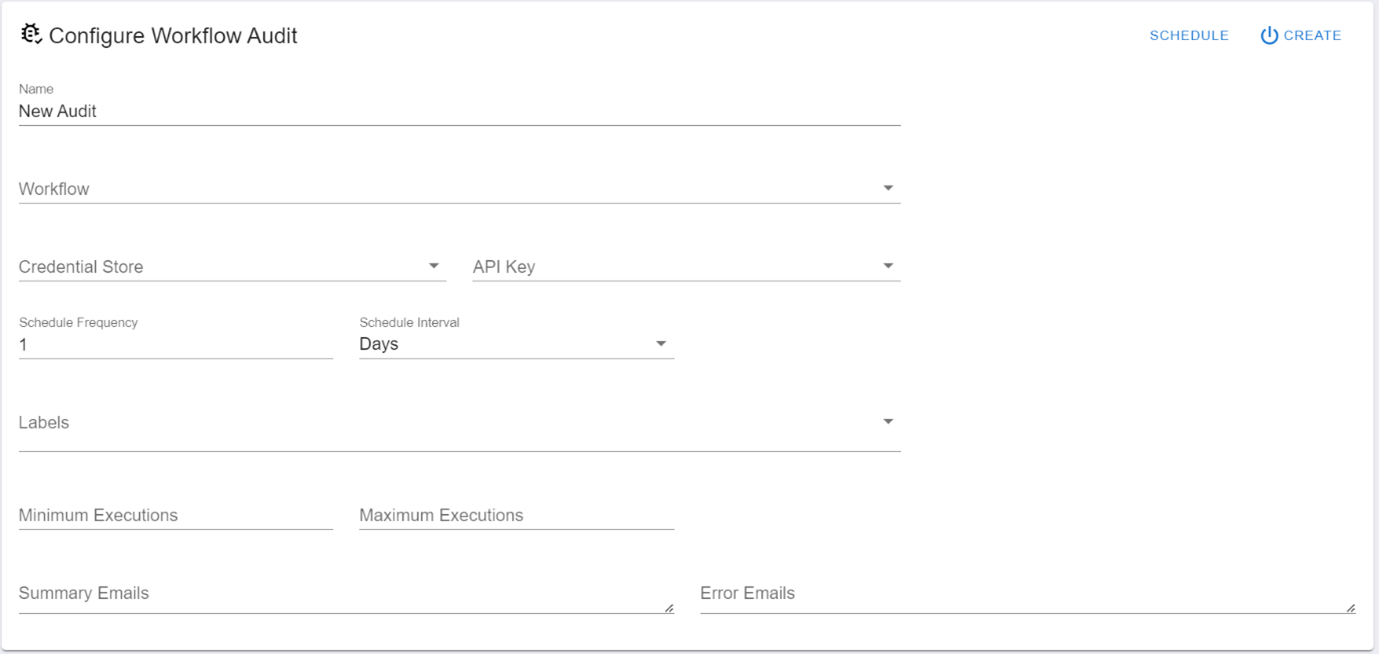
Each field lets you customise your audit:
- Name: the name of your audit. Used to identify the audit in the workspace.
- Workflow: the workflow you want to run the audit on.
- Credential Store: the credentials set in the Credential Vault with the API key that the audit will use as authentication when it runs.
- API Key: the data store in the credentials set that stores the API key that the audit will use as authentication when it runs.
- Schedule Frequency: the number of time intervals to wait between audits. E.g. 3 days or 2 hours.
- Schedule Interval: the time interval to use. E.g. 3 days or 2 hours. A schedule frequency of 1 and a schedule interval of days will run the audit once ever 24 hours. A schedule frequency of 3 and a schedule interval of hours will run the audit once every 3 hours.
- Labels: the labels of the steps you want the audit to check are running. If an instance does not run a step with one of these labels, the audit will alert an error. Learn how to label a step here.
- Minimum Executions: the minimum number of times you expect the workflow to run between audits.
- Maximum Executions: the maximum number of times you expect the workflow to run between audits. Since the last audit, if a workflow has been run less than the expected minimum, or more than the expected maximum, an error is alerted.
- Summary Emails: after every audit is run, it will send a summarising email to these email addresses.
- Error Emails: if an audit encounters an error, these emails will be alerted.
Finalisation
Before you can enable the new auditor, you need to set a time for the first audit to run. To do this:
Click the SCHEDULE button in the top right.
Select the time you want the first audit to run. The blue banner displays the selected time. To edit each specification of time (eg day, hour, AM/PM, minute), click on it in the blue banner. Then, use the time selector that appears below the banner to edit the time specification.
Click SET SCHEDULE.
Finally, to enable your auditor, click the SCHEDULE button in the top right.
Labelling a step
In a workflow, some of the steps can have a 'label'. These labels can then be run through an audit to verify that all of the labelled step is being run consistently.
To label a step:
Navigate to the step's workflow.
Find the step and view its overall JSON by clicking the {...} button in the top right of the step.
Insert the "label" property. The value of this property should be a string. This string is the step's label.
Example
See an example labelled-step JSON below. Its label is "auditGroup":
{
  "id": "123456",
  "description": "lorem ipsum",
  "name": "Example Step",
  "eval": [],
  "fetch": {},
  "label": "auditGroup"
}
Sharing Labels
If multiple steps have the same label, then an audit will only check for the first occurence of that label. For example, if you had the same label on step 1 and 4, the audit only checks to see if at least one of the steps is run.
- If step 1 is executed and not step 4, no error is alerted.
- If step 4 is executed and not step 1, no error is alerted.
- If neither step is executed, an error is alerted. However, this may be useful if your workflow splits into two paths. Two steps with the same label but on separate paths would not encounter the previous problem.
Management
After creating an audit or navigating to the audits page using the sidebar, you will be met with the audits homepage:
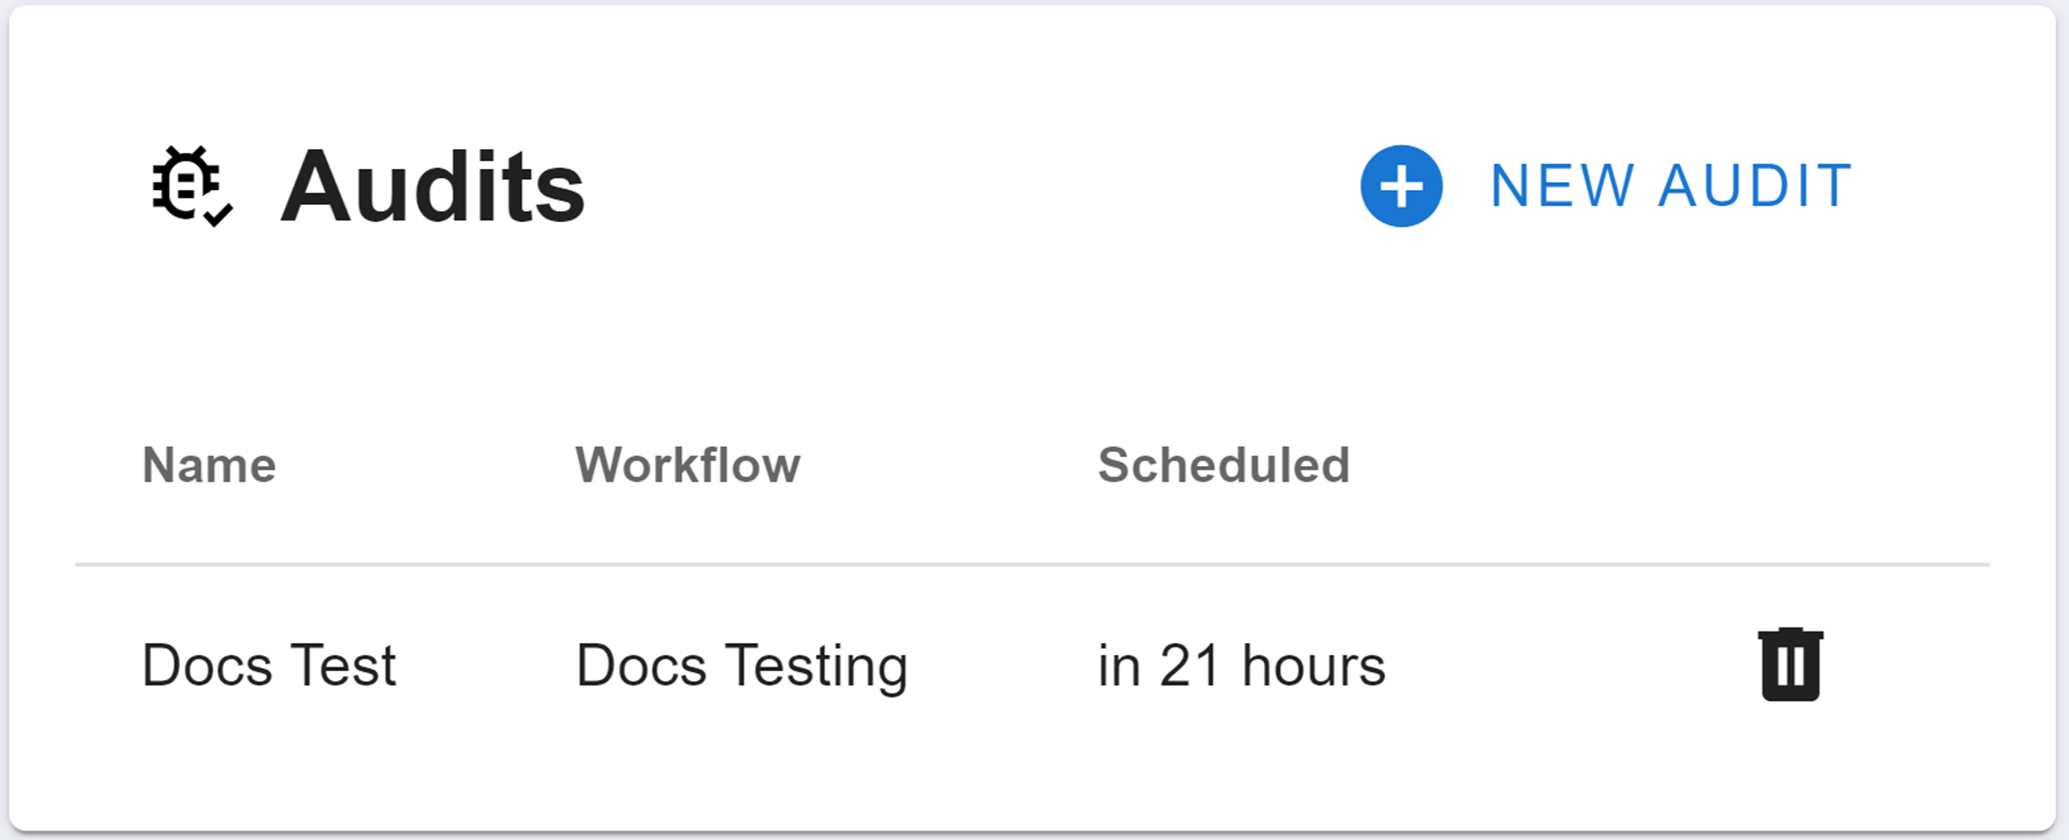
The audits homepage will display all of your workspace's active audits. From left to right, the menu will display:
- the audit's name
- the name of the workflow being audited
- the duration until the audit is run again
- the delete button
To disable and delete an audit, click the delete button. A small menu will then appear where you need to type the word 'confirm'. Then click DELETE.
How is this guide?